Make sure the Delta server graphics display is properly set up in Windows and the GPU driver and with the right EDID.
The Wall Designer app enables you to quickly configure your displays, saving the configuration to the Fx4 unit. The app can be downloaded from https://www.datapath.co.uk/datapath-current-downloads/display-controller-downloads/software-display-controller. Select ‘Wall Designer’.
Install the app on the PC connected to the Fx4. Open Wall Designer:
Toolbar (right)
Note the ? icon on the right for additional help. Production-level installation may only be for making sure the unit works, so fewer settings need be made than for a final wall installation.
File icons: New, Open an existing config file, and Save a config file.
Print gives a drawing of the panel layout with measurements and a table of panel models and placements.
Drawing: note the tools for showing measurements and units, and for snap-alignments, when dragging panels into position on the grid.
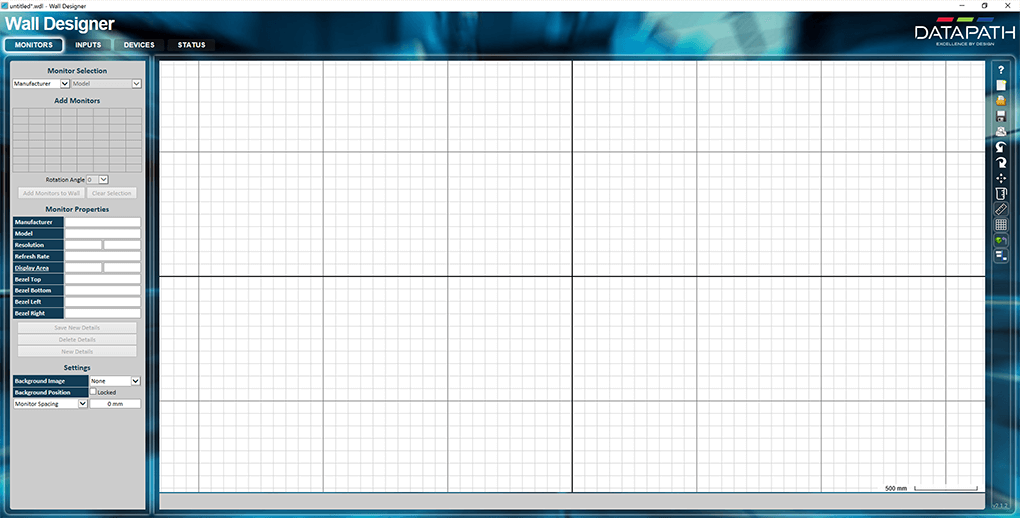
Menu: Monitors
|
Selection •Select the brand of monitor and the model, from the drop-down menus. These selections will turn blue in the lists to indicate they are the current selection. All monitors must be of the same model, resolution, dimensions etc. •Click on the grid and drag out the required arrangement (or click required grid squares). This example shows 2 × 2. •For portrait-mounted panels, set the rotation angle before adding them to the wall. •Click ‘Add Monitors to Wall’. •Clear Selection clears ‘monitors to add’. To remove a monitor from the wall, right click the panel on the wall and select ‘Remove Monitor’. Note that to add another monitor, first ‘Clear Selection’ otherwise all previously added monitors will be added again. Properties Details from the Datapath database should be correct by default, but check and change if necessary. Errors may reflect a wrong EDID on the server. Resolution and Bezels: these are derived from the database of monitor models, but can be adjusted here. Save details: accept any changes made to Properties. Undo Changes: resets to previous values. Reads Restore Defaults (database values) after saving. Background settings are cosmetic and not necessary for setup. Their principal function is so that you can imagine a display wall in situ (e.g. an airport lounge, reception area, photo or design image of your own ...). There is an example of this in Conceptual Overview. Monitor spacing/projector overlap: if known and required, apply these settings before adding monitors to the wall. |

The added monitors will look something like this:
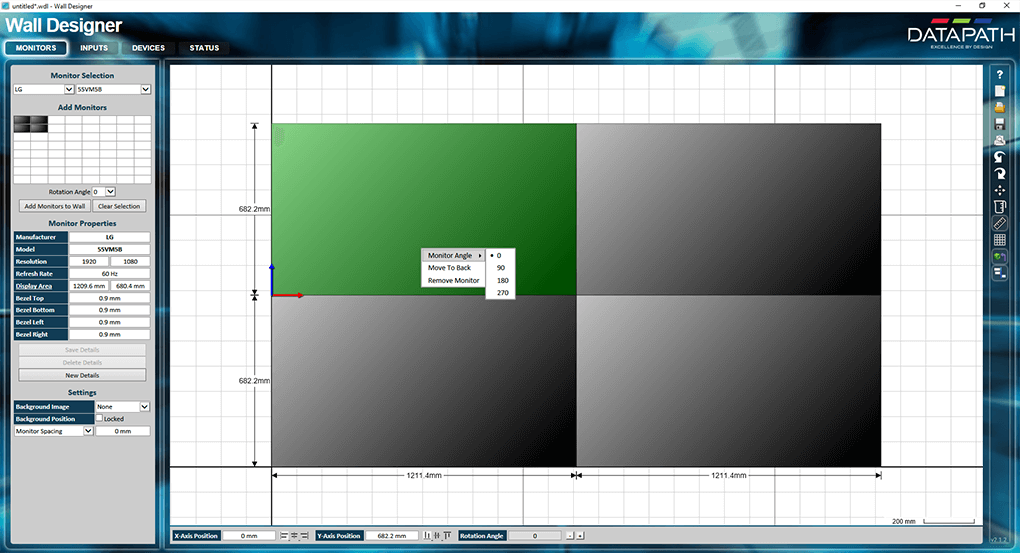
Here one monitor has been selected (just click and it will go green, showing the origin point), and the right-click menu shows rotation and layer, and allows removal from the wall. The measurement tool has been applied: click this tool once for overall dimensions, again for panel dimensions. Units can be mm or in, using the ‘toggle units’ tool.
Once selected, a panel can be dragged within the input area (not beyond), or given an X /Y origin by measure. The mouse wheel zooms the wall, and any selected background image can be selected and scaled behind the group by dragging.