Please consult the Scalable Display Manager User Manual for full details. This is our summary procedure for use with Dome display in Delta.
Scalable Technologies has a range of YouTube video introductions, beginning here: How to align multiple projectors with Scalable Display Manager 8.0 - Quick Setup Guide.
Follow these steps in sequence to create the autoalignment calibration data that Delta requires from Scalable Display Manager.
![]() First check (bottom left of the Display Manager screen) that the camera is connected.
First check (bottom left of the Display Manager screen) that the camera is connected.
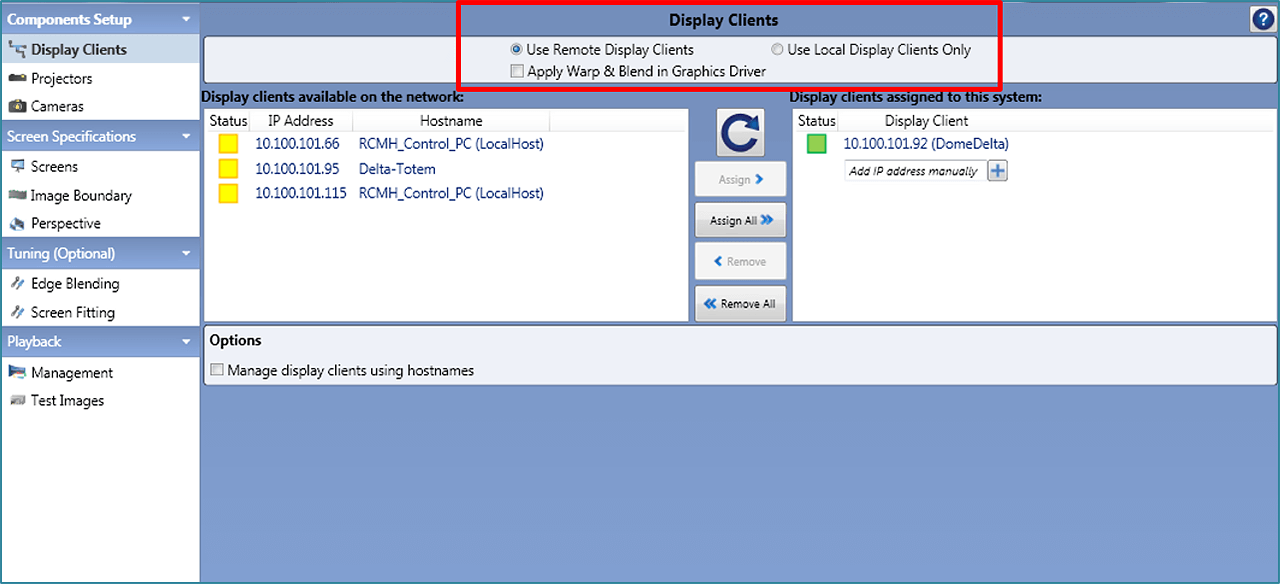
Select Use Remote Display Clients, then find and connect to every display client server. Assign the IP address of the Delta server to the right-hand column. If it does not appear, try restarting the SDT Display Client on the host PC. This can be found in the Start Menu. |
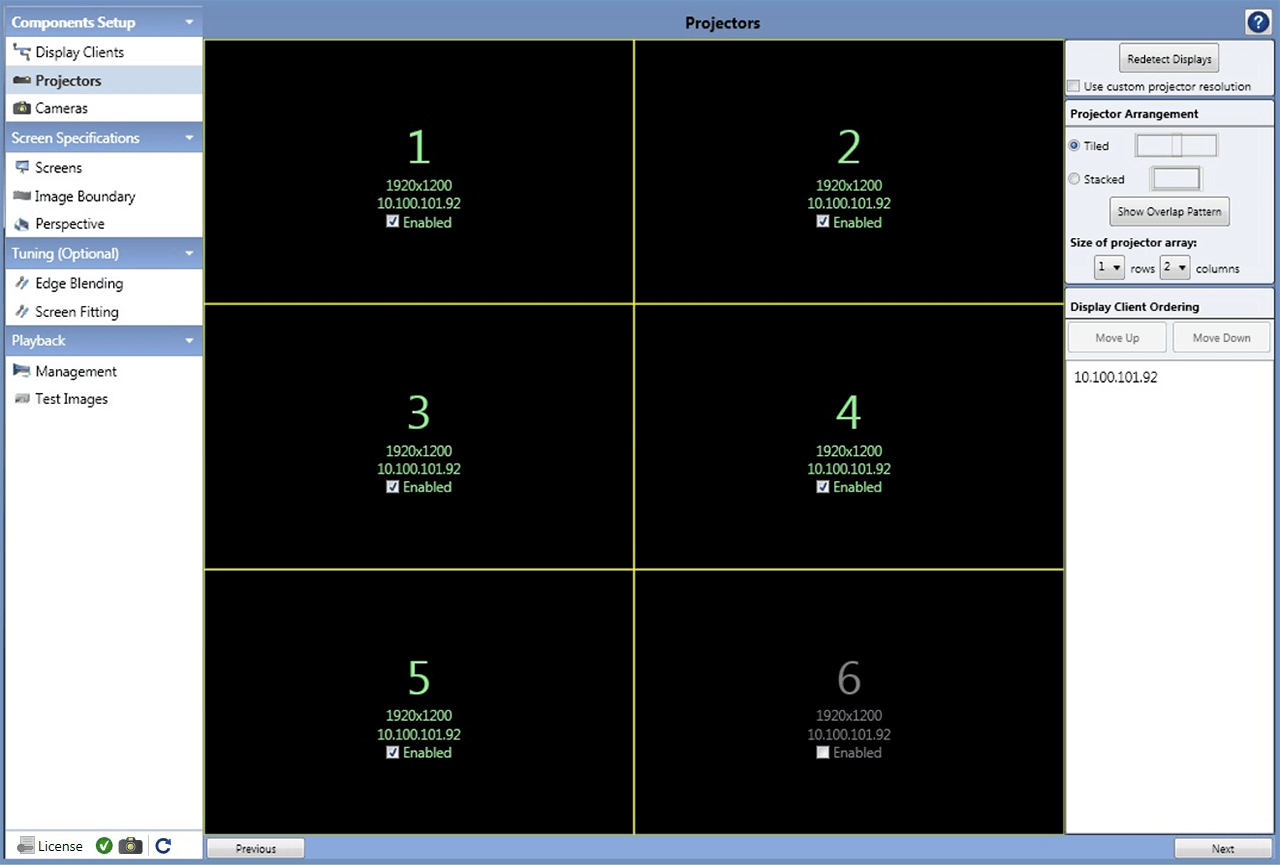
This may take a few seconds to load, and shows what is connected to the Display Client. Make sure the correct number of projectors appear and at the correct resolution. If you set a specific Matrix Mode array in Delta, you should have the same configuration here. •It is important to disable any unused displays here. •It is best to make this configuration match your DeltaServer desktop configuration. If it is not automatically correct, use the custom resolution option and number of rows and columns to make sure the layout matches Delta. Click ‘Next’. |
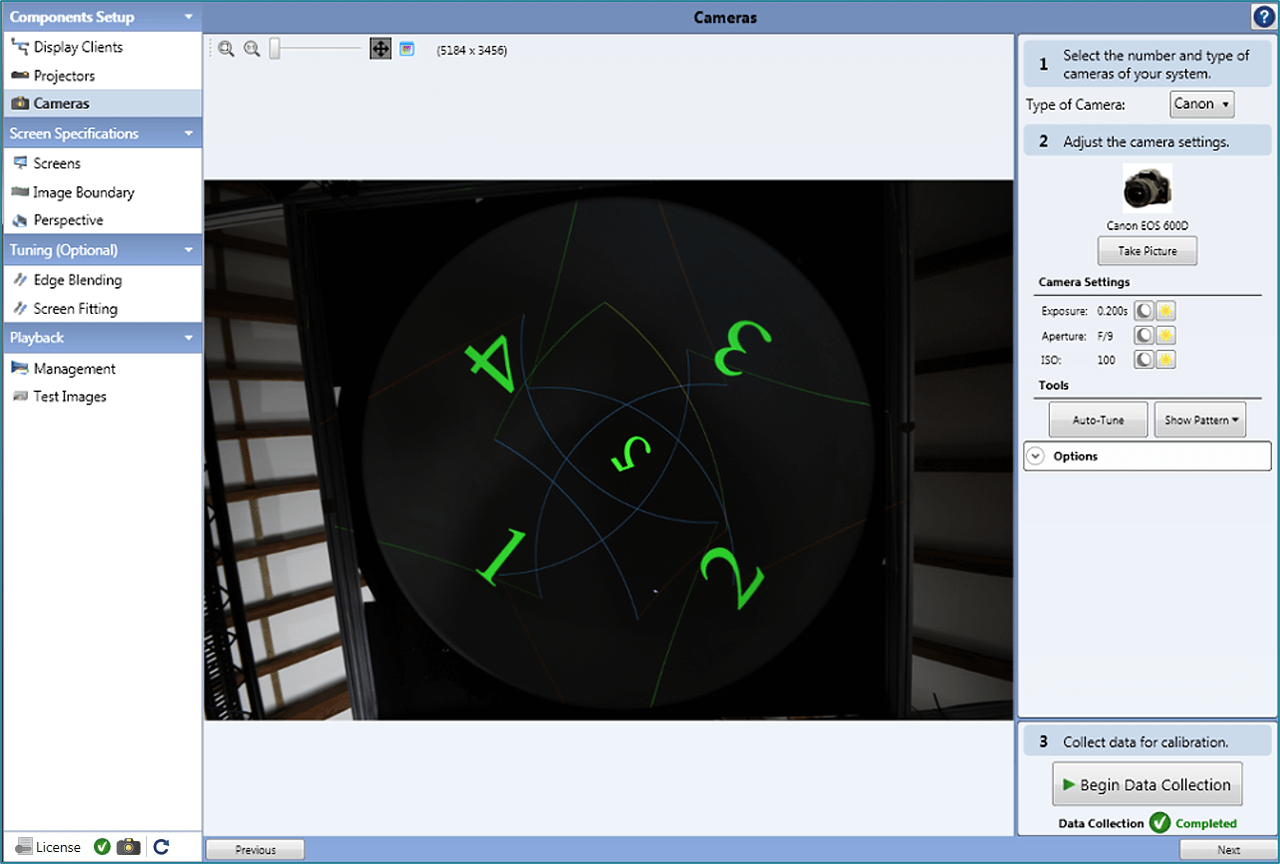
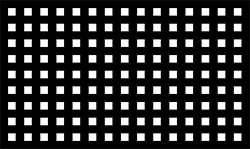
•You are probably using a single camera, so make sure the number of cameras is set to 1, and set the type to ‘Automatic’. •Position the camera normal to the pole of the dome (see Preparation ), and make sure the entire screen image is in view and is not over-saturated. oThe orientation of the base of the camera will determine where North (0 degrees) is. oThe centre axis of the lens will determine where the pole is. •Use the ‘Show Pattern’ button to put up sample grids to help ensure all the spots are visible. •‘Auto-Tune’ can be used for correct exposure, and is often necessary for large displays. It’s worth trying without first, as the process is quite robust. If you can get away with the default short exposure time, the alignment can be a lot quicker. •If setting the camera manually, you could use a 2 s exposure with an aperture of f/7.1 and ISO of 100. •Project a pattern or static image that has contrasting edges to facilitate focusing, and take a picture with the camera in auto shot and auto focus mode. •Clear the image and switch the camera to manual shot and manual focus mode. |
The Scalable software will project a series of calibration images:
No more images will be taken by the camera unless a new data collection process is required. When data collection is complete, click ‘Next’. |
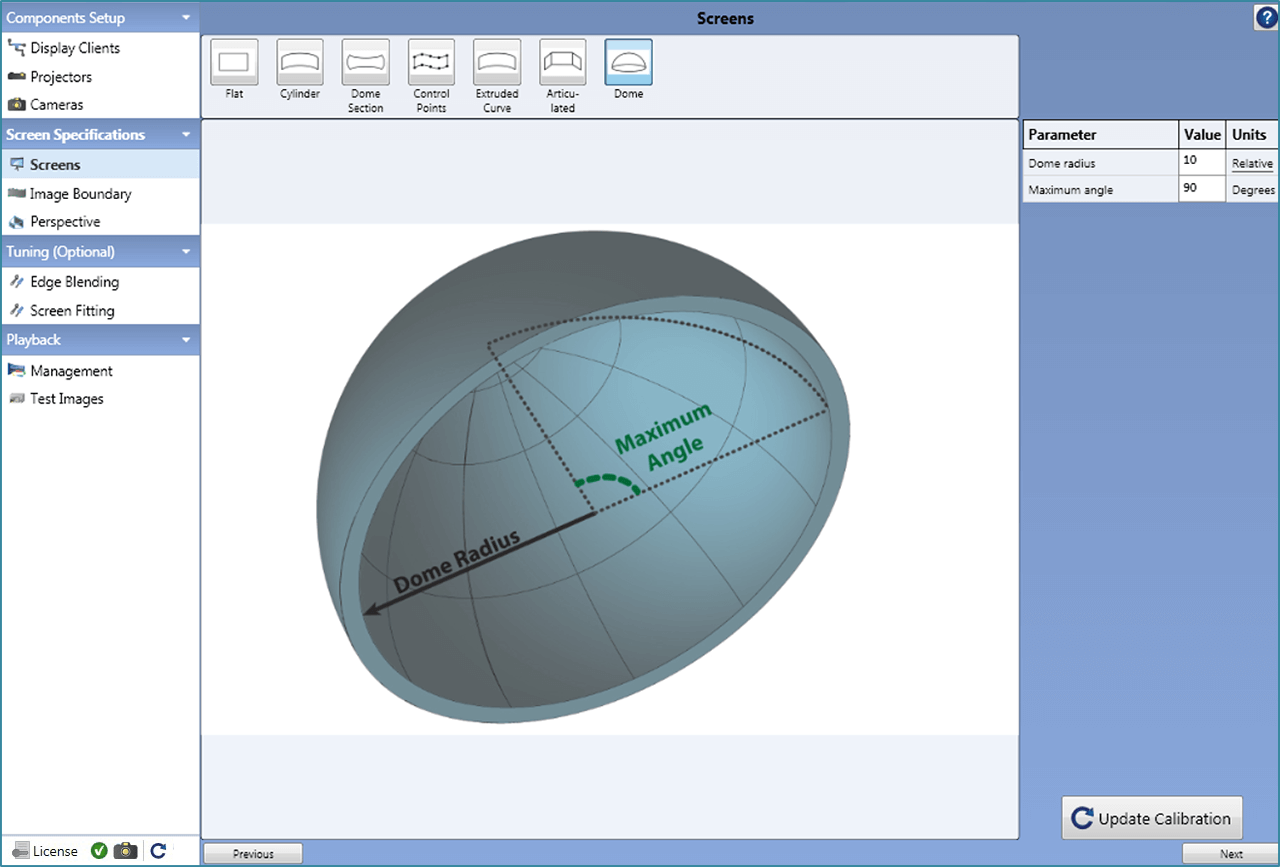
Dome All other types If you make changes, click ‘Update Calibration’. Click ‘Next’. |
Dome All other modes Click ‘Next’. |
|
|
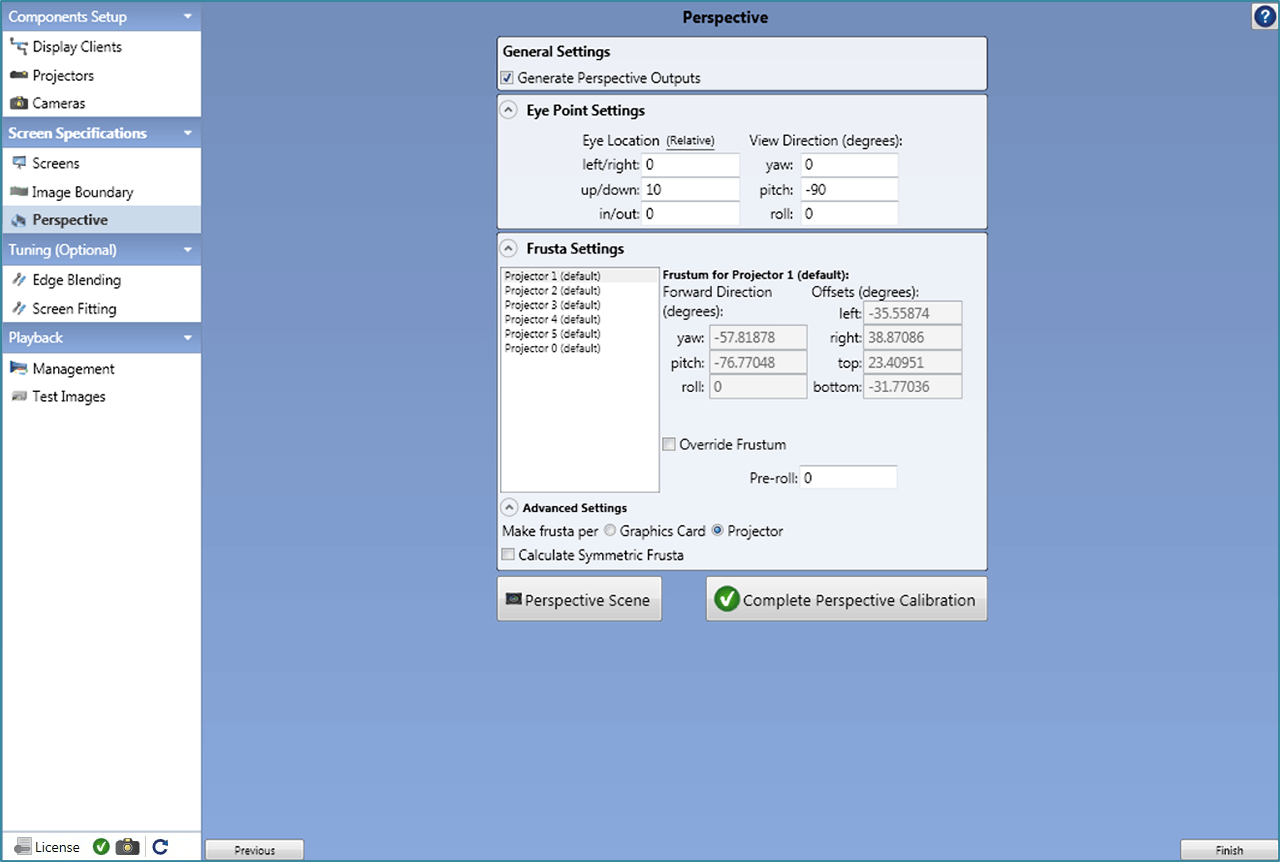
In the Frusta Settings > Advanced Setting area, towards the bottom of the panel: •select ‘Make Frusta per’ Projector. In Eye-Point Settings: •set the up/down eye-point number. This is a representational number for the depth of the dome (= radius, for a full hemisphere) with a default of 10. This should match the screen radius setting in Delta, dome display configuration. •set the Pitch value. The Scalable default views the dome as in front. For an overhead dome, rotate the pitch up by -90 degrees.
The pitch rotation could be set within Delta rather than Scalable but to avoid confusion, it is better to have the display represented correctly within DeltaGUI.
|
![]() 8. Calibration or Recalibration?
8. Calibration or Recalibration?
The Scalable Display Manager alignment data apply to the relationship between the projectors and the dome. If the projectors have not moved and the camera position is unchanged, then changing input parameters only requires an update. If any projector has been moved, a full recalibration based on new camera images will be required.
|
➢Import Autoalignment Data into Delta
Page edited [d/m/y]: 06/05/2022


 Once the final calibrated image is shown, clear the dome of images. Either click ‘Hide Display Clients’ in the Management tab, or close the Scalable Display Manager.