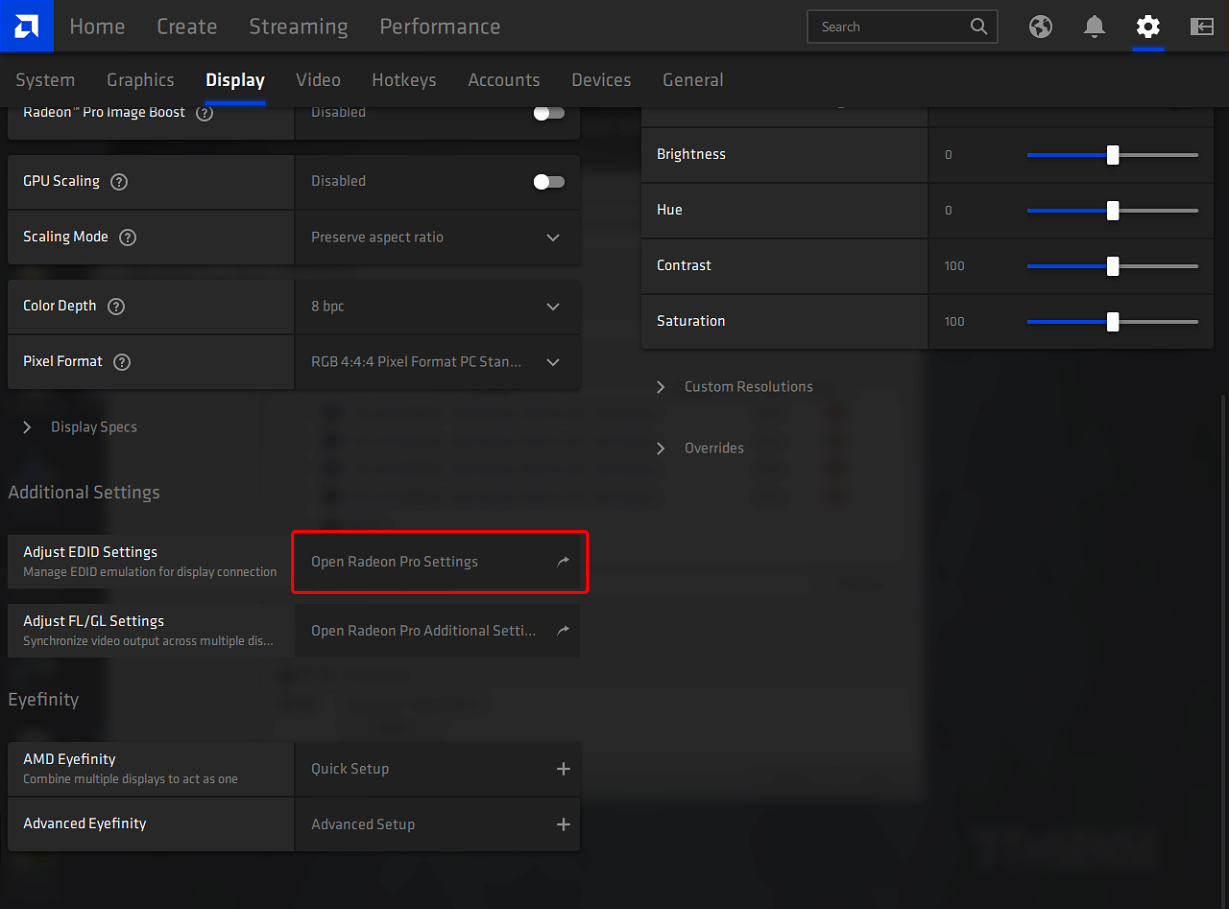
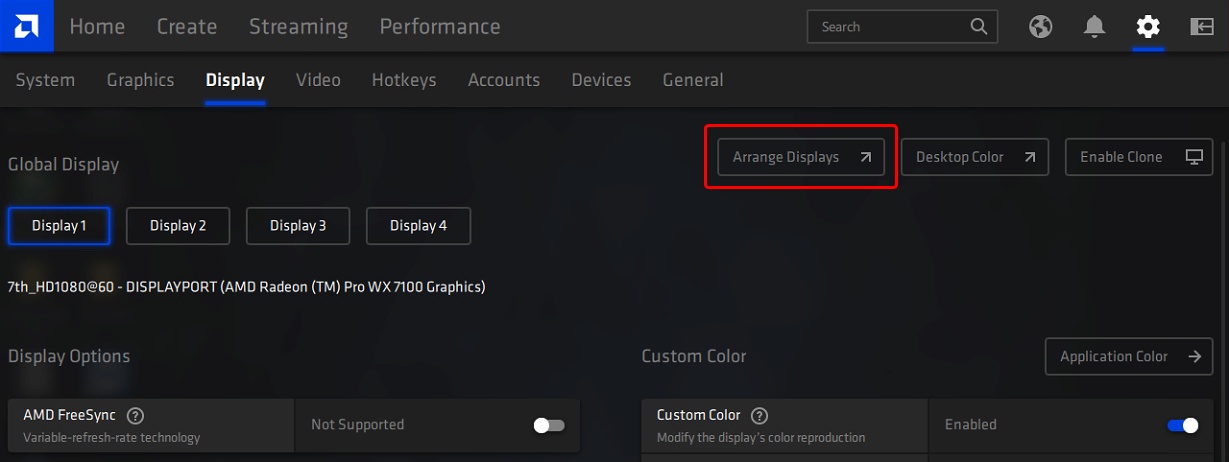
Select Display on the top menu, and scroll down to ‘Additional Settings’ to ‘Adjust EDID Settings’:
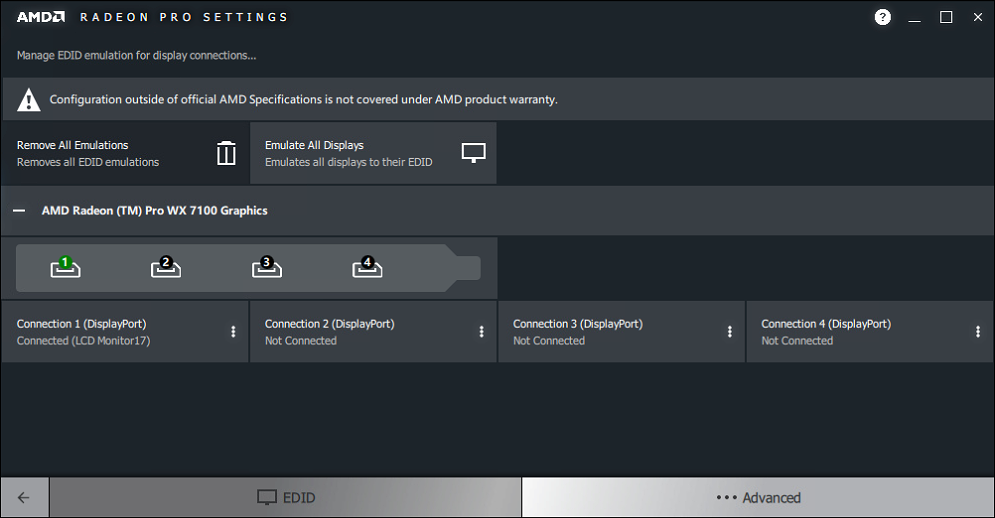
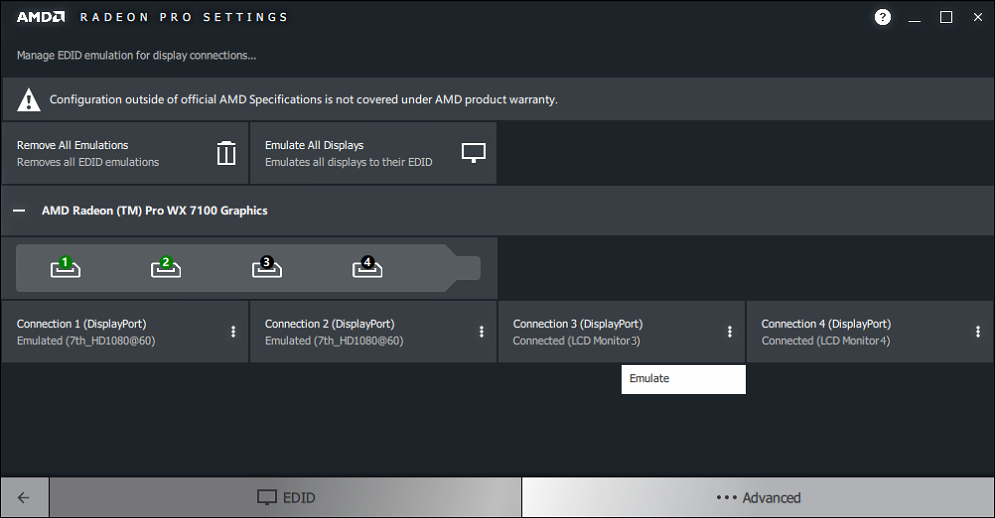
Open Radeon Pro Settings, and expand the GPU section:
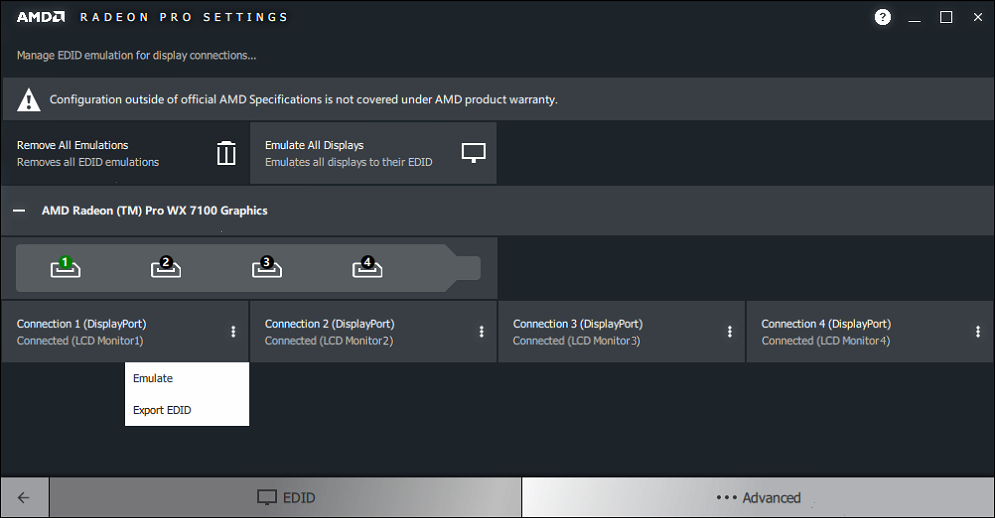
Select ‘Emulate All Displays’ then click the 3-dot selector in the first display and choose ‘Emulate’:
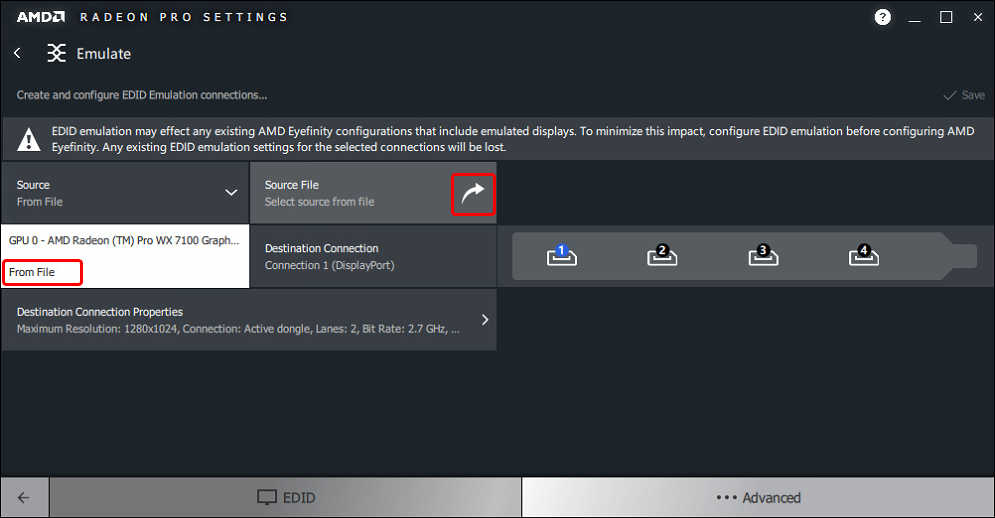
Now select ‘Source’, choose ‘From File’ and then the source file arrow, to browse to select the correct EDID:
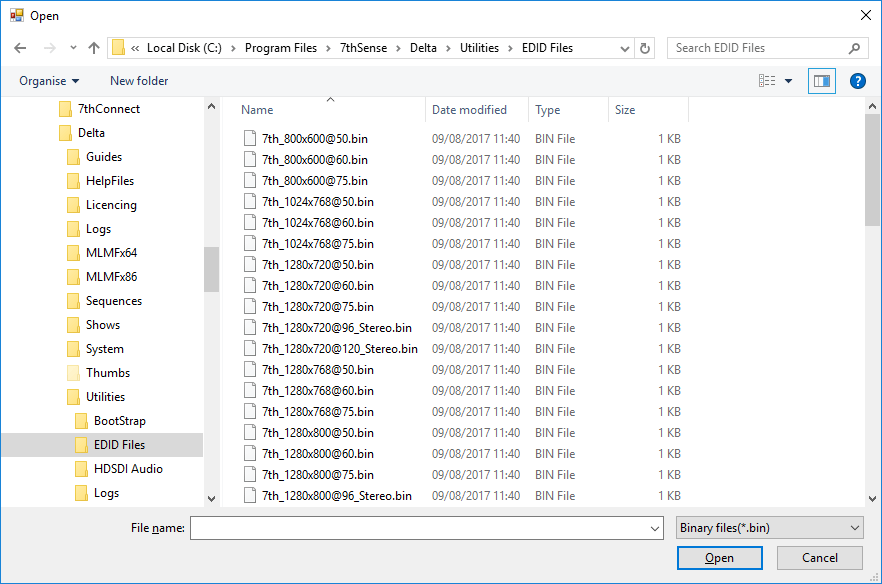
Select the EDID (*.bin file) that you want to use. 7thSense supplied EDID are found in C:\Program Files\7thSense\Delta\Utilities\EDID Files.
Finding the right EDID
7thSense provides a collection of available EDIDs, located in: C:\Program Files\7thSense\Delta\Utilities\EDID Files. Change the file type (bottom right) to binary to see these files:
Select the EDID for the right resolution, bit depth and frame rate. Some EDIDs indicate specific interface types (HDMI, DVI); take care to select the correct option. Display devices (projectors, monitors) have their own set of embedded EDIDs that can also be used. Open the selected EDID then ‘Apply’, to apply it to all of the selected AMD display connections.
Note that the Destination Connection Properties will show the current values of the display being addressed. Typical post-emulation properties will be:
•Lanes: 4
•Bit Rate: dual link or above, 5.4 GHz, otherwise 2.7 GHz
•Bandwidth should be changed to 5.4 GHz for higher output EDIDs, e.g. 4096 × 2160@60
•Color Depth 8-bit or 10-bit depending on output required. This is important for Working in 10-bit Colour Depth.
Repeat for all displays:
Unexpected screen resolution?
If, after emulation, the resolution is different from what you are expecting (an EDID can contain multiple resolutions and refresh rates), you will need adjust Windows display settings, accessible from here, and go to the Windows ‘Advanced Display Settings’ and find ‘Display Adapter Properties’ at the bopttom:
In the Display Adapter Properties window, click ‘List all Modes’ at the bottom, and then select the resolution from the drop-down menu (this may need to be applied per output).
With the correct resolution now set for each output, proceed to grouping configuration your displays.
