From any networked PC, open a web browser and go to the Scheduler IP address, port 8080 (e.g. 10.100.101.123:8080).
The first thing you will see is the empty Dashboard page:

Nothing will be listed until the Servers and Screens have been added, which we will do next. Click on the ‘Management’ tab in the top-right menu:
Here all the components for creating Schedules are created and managed:
|
System Config First we need to set up the PCs that will schedule and play all the media, where the media can be displayed by the player servers, and manage how many to see at once. Media Config Next we can build the instructions for playing media on the displays, including layouts and transitions between items. Org. Config This is where clients, contracts and categories are defined. Categories can be used to avoid sequential playing of similar items. |

Adding, Editing, Removing Items
At the top of every component page under Management, is a common control bar:
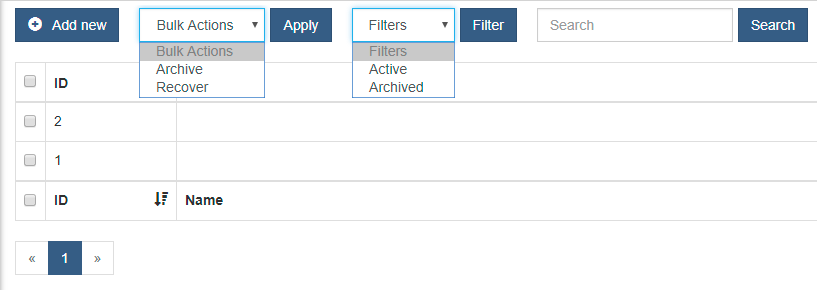
•Add an item with ‘Add New’.
•Edit an item by clicking its name, make changes, and Save.
•ID numbers are auto-allocated when an item is created, but you can sort lists by newest or oldest first.
•Click the header ID checkbox to select all items listed, or click single items to select them.
•Bulk actions are ‘Archive’ and ‘Recover’. There is no absolute ‘Delete’.
•An archived item can be recovered by filtering to view ‘Archived’ rather than ‘Active’ list items, then select.
•Search searches the Name field only.