Disable any media on your timeline, go to Blends and uncheck ‘Enabled’ so that all edges will be visible, and switch on the pixel grid:
Your canvas will now show this grid, revealing not just imperfect positioning, but angular distortion and rotation, and the grid squares may be of uneven size. In this example, we are using a laser line to indicate true vertical and horizontal wherever it is useful.
Alignment is an iterative process, in which you will make minor adjustments using different tools in turn, because positioning will affect proportioning and vice versa.
Correcting the Overlaps
Along the left and top axes of each channel you should see grid numbers. Here is a channel overlap portion with the red laser line to guide our warping. Note that the numbers should roughly coincide:

How well the numbers coincide depends on the accuracy of the overlap entered in the Defaults Wizard. You can adjust the overlap and rerun the wizard, but with multiple channels and slightly variable overlaps, you may need to adjust individual channel X and Y locations.
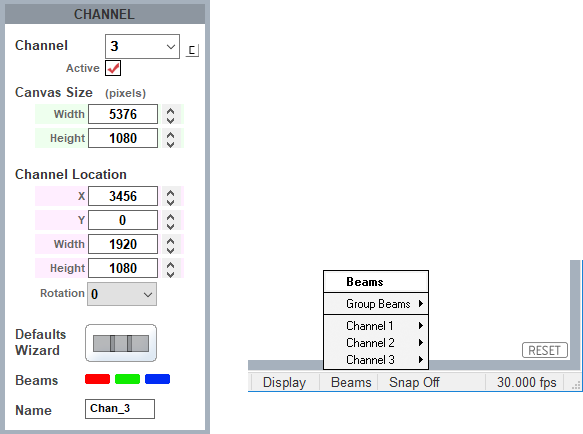
Note here too that the RGB beams can be switched out, to colour each channel differently and distinguish them. (Alternatively, use the Beams menu in the status bar.) A channel’s pixel grid can be hidden by switching all beams off.
Rotational Alignment
If a channel appears slightly rotated (off axis), Delta can correct for this. Rotation in the display setting (above) rotates the media but not the pixel grid: it is not a warp. Use this typically for 90 degree increment channel rotation.
Rotation in the Timeline warp tool rotates the grid, but within the aspect ratio of the channel. Other warps may therefore be more useful for minor realignment.
Grid Warping
Surface Warp
If you know the physical canvas frame positions (corners or edges) for correct aspect projection, it can help to mark these. You can then work inwards to align each channel. If the physical canvas cannot be marked, then it may be better to work outwards from the middle of each channel to straighten the grid, and to adjust for equal grid square sizing.
Focus on worst-case misalignment first, and aim for progressive improvement rather than perfection with each move.
Familiarise yourself with the warp tools and how they manipulate the grid. Learn the effects of single and multiple point selection, the difference between linear and spline (surface mode) grid deformation, and the geometric advantages of timeline warping. The sequence in which you apply warp tools can make a difference. There is no fixed way, because a faceted canvas, a single flat plane and a curve, will all require different treatments. |
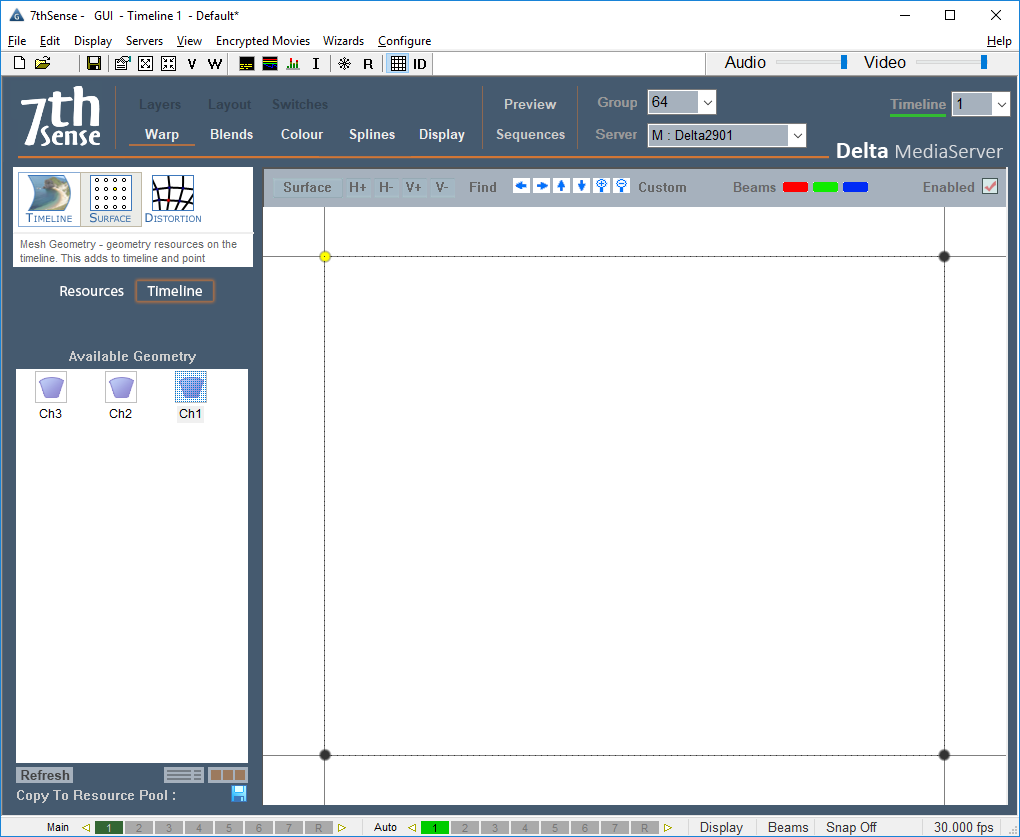
Now go to the Warp view and select Surface geometry. There are two approaches.
Outside-In Approach
If you know where the corners of a channel should be, reduce the grid to its outer points only (use the H- and V- buttons). Here the top left corner is selected for the channel 1 warp geometry, to be dragged visually into position on the physical canvas. Move a point with Ctrl+arrows, and Ctrl+Shift+arrows for fine movement.
Once the corners are positioned, add grid points (H+ and V+) (adds vertical and horizontal grid lines). This enables smooth shaping of the channel to the canvas. Adjust outer borders first, and then linearity across and down the canvas (again, a laser line will help if you have true verticals and/or horizontals). Where the canvas is accessible, simple physical references, such as a measuring tape or marked card, can be used to compare actual pixel grid dimensions across the physical canvas.
Inside-Out Approach
If the projected area border is simply relative to the centre of the media, working from the middle outwards may be more practicable.Using laser lines, more points on the surface warp grid can be used, and groups of points moved together, in order to achieve true verticals and horizontals in the grid, and linearity.
Timeline Warp
For surfaces that are evenly flat or curved, applying Timeline geometry is quicker (these are mathematical approaches to the whole channel that include sizing, skewing, bowing and proportional linearity for all, half, and quadrants of a channel).
Point Distortion
For surfaces with irregularities, the Point Distortion option provides a useful addition. Media with finer detail, including writing or subtitles, can become blurred, especially in overlaps, where the surface is not smooth or flat. These point, or point group, distortions are added to the other warps and are used last.
Repeat with each channel across the canvas, and adjust the channels so their grids exactly overlap those of their neighbours. |