Compatibility
Creative Cloud CC2019, 64-bit for Windows 10/11 and MacOS (Intel chipsets only).
Downloads
Right-click to download (save link as):
➢7th Adobe AfterEffects plugin (Windows)
Formats supported
Format |
Import |
Export |
|---|---|---|
8-bit YCbCr 4:2:2 |
❌ |
✔️ |
10-bit YCbCr 4:2:2 |
✔️ |
✔️ |
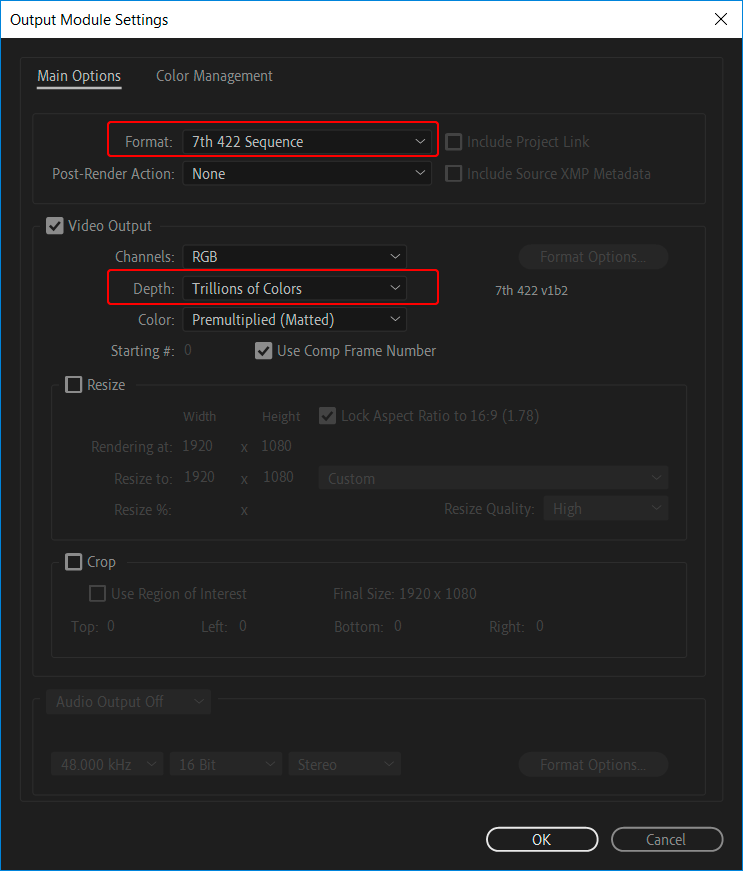
1.Download and copy 7thAE.aex file should be copied to C:\Program Files\Adobe\Common\Plug-ins\7.0\MediaCore 2.Restart After Effects
|
Before CC 2019: For a Mac installation using the latest Creative Cloud release, the 7thAE.plugin package should be copied to the following After Effects plugin location: /Library/Application Support/Adobe/Common/Plug-ins/[CS version]/MediaCore/ CC2019, verified with Catalina 10.15.1: Add 7thSense plugin to path: /Applications/Adobe After Effects CC 2019/Plug-ins/Extensions Start After Effects. It will fail, but click Cancel instead of moving it to the Bin. Shutdown After Effects. Go to the ‘Security & Privacy’ panel, ‘General’ tab. This will show that the plugin was recently prevented from running. Click ‘Allow Anyway’. Run After Effects again. This time an extra option of ‘Open’ is shown, select this. After clicking open after effects will run and the plugin is seen. Next time you start After Effects, you shouldn’t see the prompt but the plugin should be available for use.
|
