How can you quickly rearrange your canvas setup? For many venues, there will be a requirement for a number of flat-screen scenarios for different times of days or events, or just to reset at the end of a session. It is, of course, quite possible to create multiple Compere projects, but setting up, closing and reopening these would be a slow and cumbersome way of managing the total assets of a venue. In fact we don’t actually need to replace or rebuild everything.
Presets are designed to capture the arrangements and settings for components in the same project. When recalled, dimensions and locations etc. of existing canvas objects will be set again to those of the saved preset.
➢See Clones and Presets
Example of use
1: Assemble all canvas elements
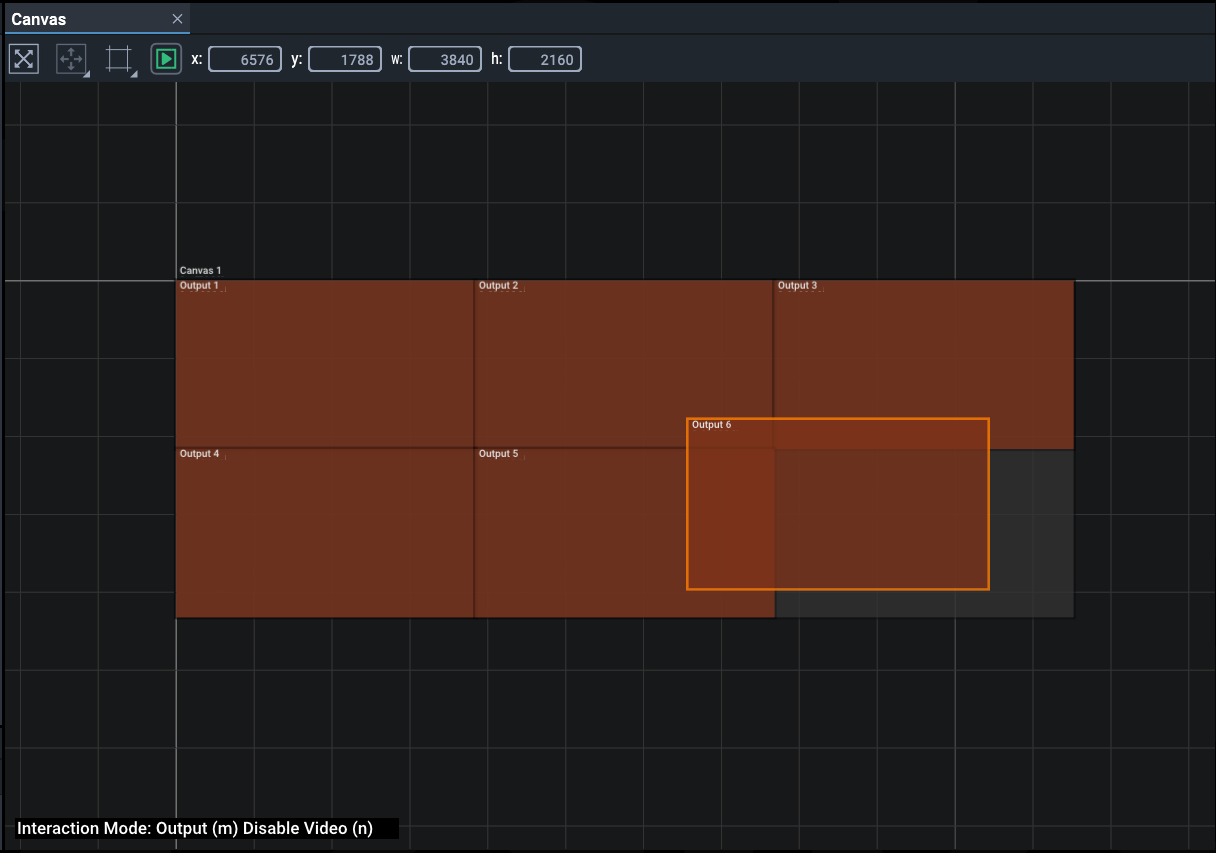
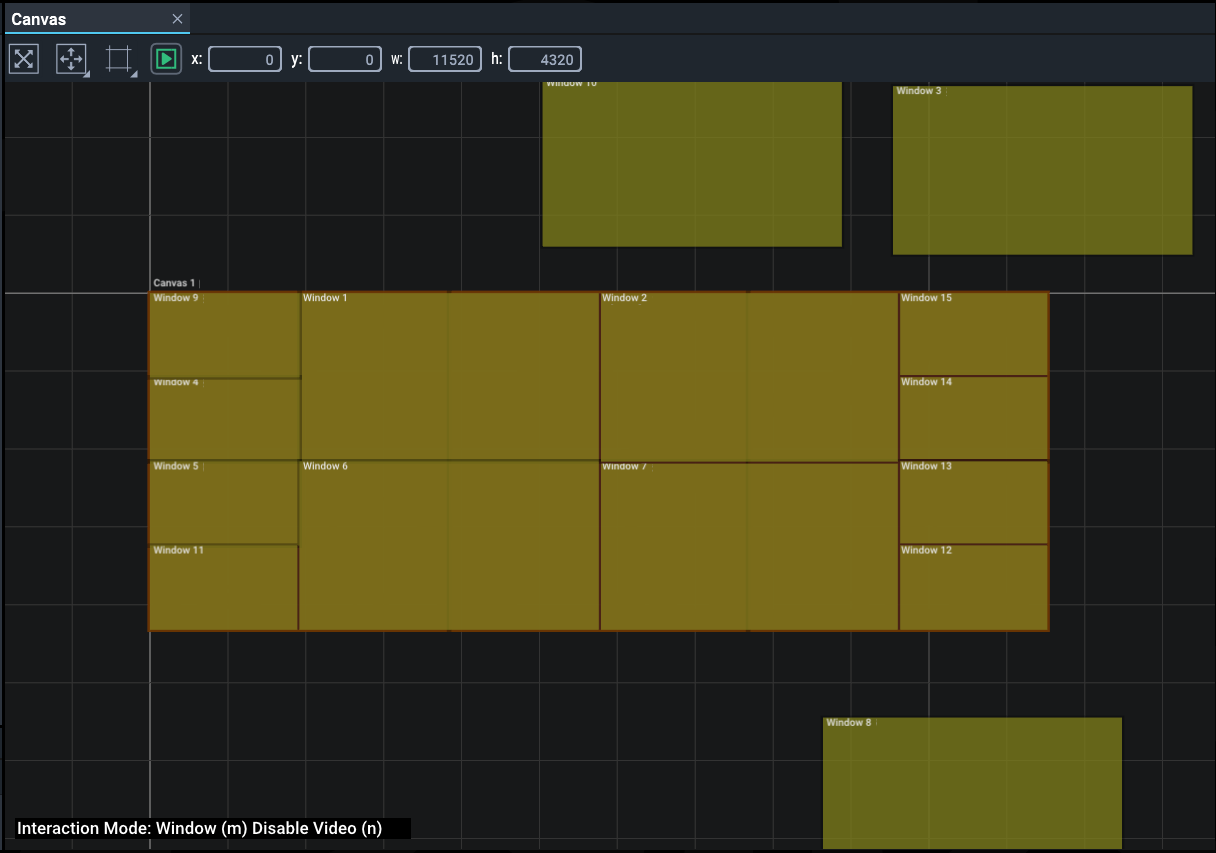
In this example we create a display with 6 × UHD outputs, and video channels running to 15 canvas windows. So to begin, the canvas is added to the project, followed by the outputs, sized and positioned as described above:
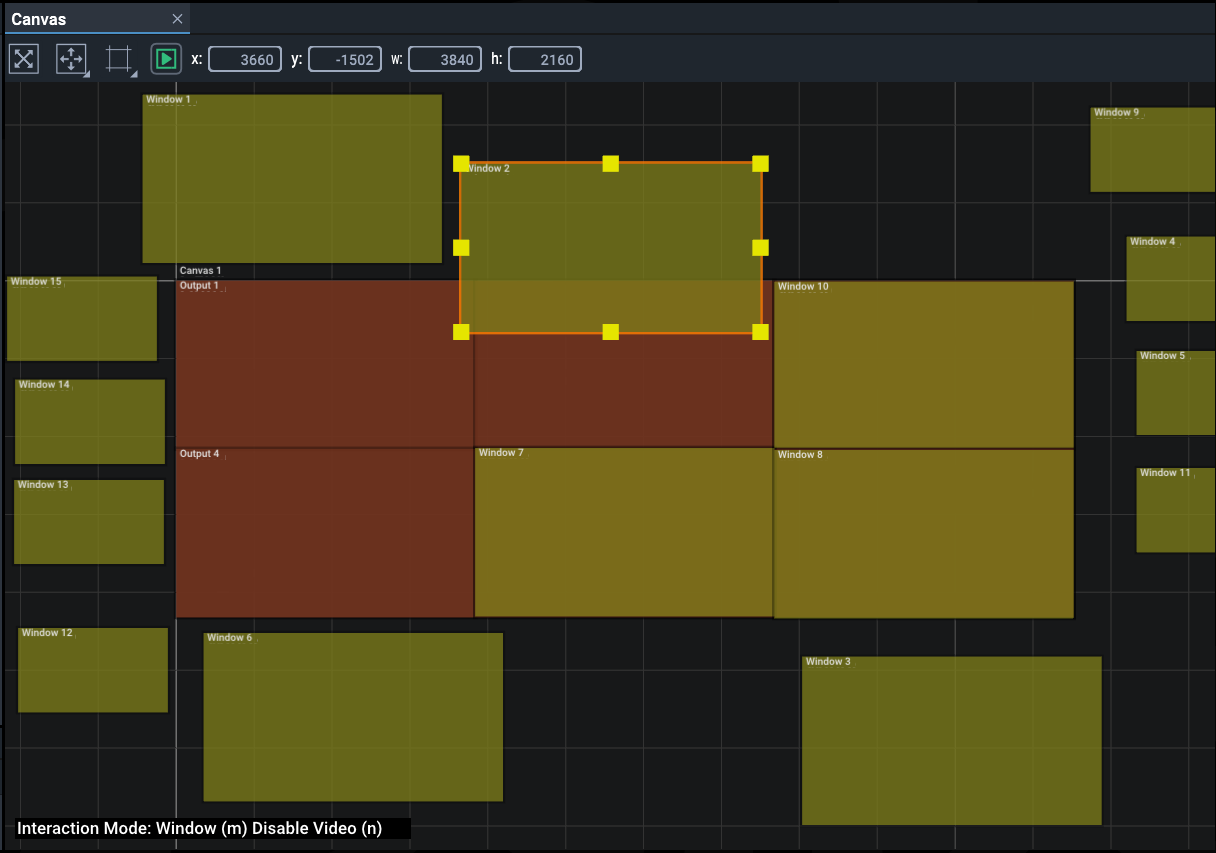
Into this, all the windows can be added and given dimensions. Once released within the canvas bounds, windows can be moved off into the space outside the canvas bounds, where they will not appear on the actual display. Only those required for a particular arrangement are placed inside the canvas:
2: Create window arrangement Presets
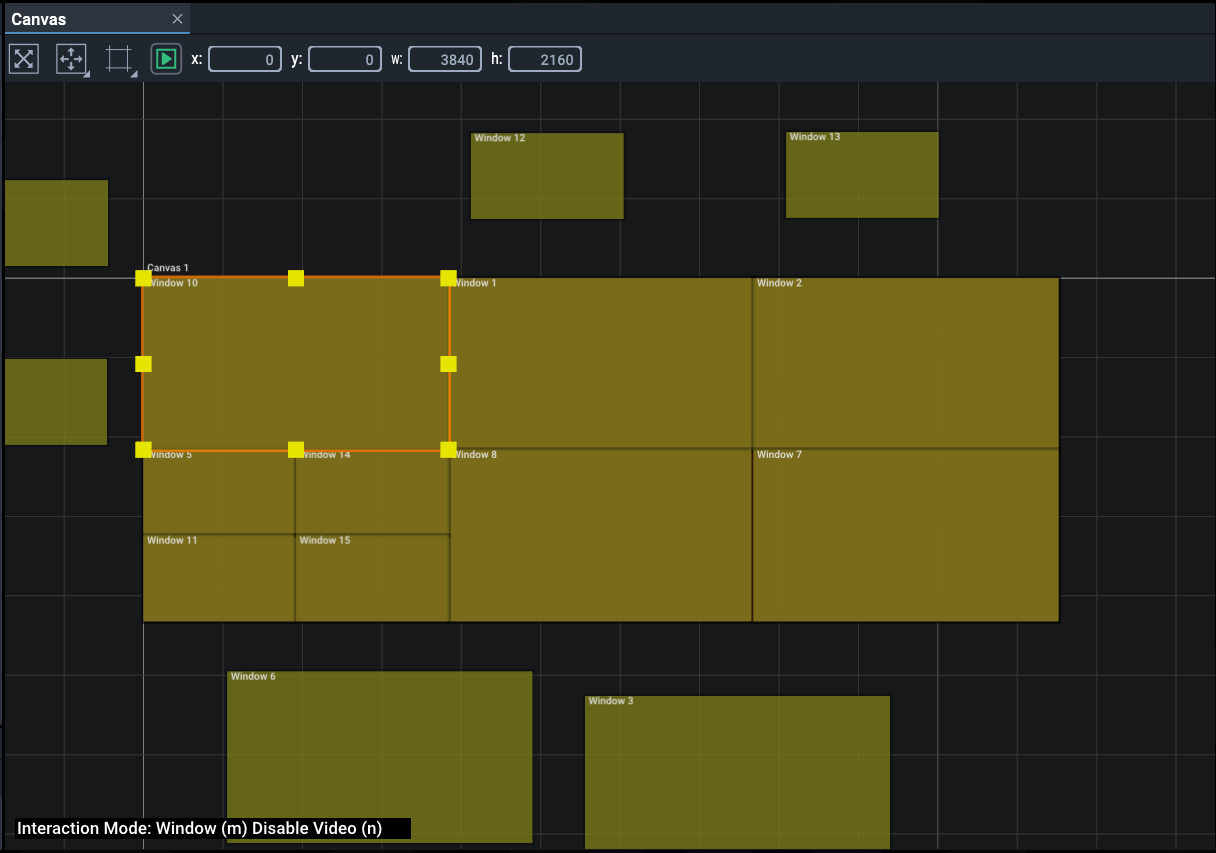
Once set up, the arrangement can be captured as a Preset. It does not matter where you park windows that are not required for an arrangement. However, with many windows it can be easy to lose track of them.
|
While you are assembling different arrangements, keep associated windows together. NDI feeds may provide sufficient identifiers, but clear naming of windows is important. For example, where a group of windows forms a ‘side panel’, or a position is used as a ‘news feed’. |
The Preset will register the positions of windows off the canvas as well as those that are on. Once set up, Presets are recalled by either menu selection, or a single external control command.
Select File > Presets > Save As > Canvases
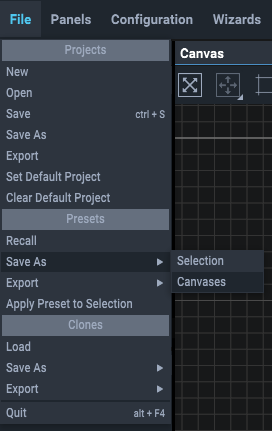
The default file location for Presets is set in Configuration > Preferences. Name the preset.
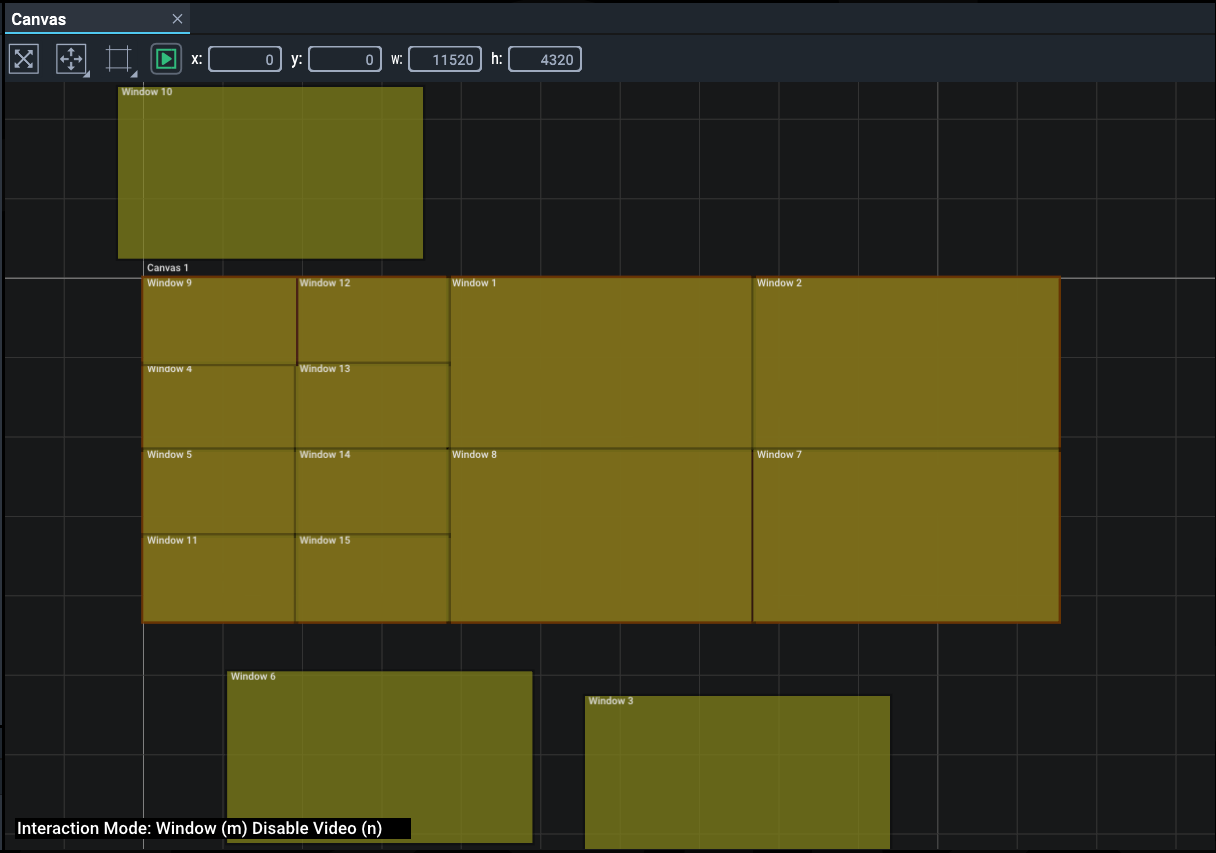
Now rearrange the windows again as required for the next Preset:
Save this as another Preset with a new name. Create further arrangements as required.
3: Recall Presets
From this example, the only changes will be the window positions and/or sizes.
Method 1: From File > Presets > Recall, select and apply the arrangement required. As the values for each window are inserted, they will be repositioned in the Canvas panel and the actual display.
Method 2: Send an External Control command to recall the Preset.
➢See User Guide M710 for Compere JSON External Control.
A note on Canvas Window layering (z-order)
Presets are not aware of any other elements on a canvas and so cannot relate to overall arrangements that have changed since they were saved. For this reason, recalling a preset or loading a clone will not necessarily assert the z-order of windows that you require. These can only be changed with ‘Modify Layers’ enabled in the Canvas, and by selecting Windows in turn to bring them over each other or to the top.
Point of comparison: Clones There are two ways to capture parts of a project setup such as a display configuration: Clones and Presets. Unlike Presets, Clones are designed to create reusable parts for other configurations or projects. When loaded into a project they are instead added as new branches of the project. Example: a clone would be useful for multiple LED walls of 6 × UHD panels, or very different projects using the same display. |
Page edited [d/m/y]: 23/06/2023
