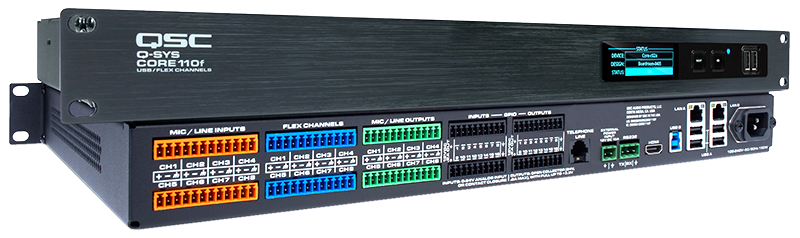
In these notes, the product referred to is the QSC Core 110f. This is a USB audio interface compatible with Windows, whose output is an IP-based QSC proprietary format (it is similar to Dante/CobraNet/AES67).
7thSense does not sell this device as an audio option with servers. However, several customers have questioned if it was possible to use with Delta. We acquired one and tried the setup with a build of DeltaServer 2.5. This is not intended to be a full usage guide for the Q-Sys system, merely an example of how to setup this unit with DeltaServer.
Installation
Install Q-SYS Designer (free) on your laptop, The Q-SYS Core Modules need no drivers other than WDM or ASIO.
Plug in the USB B port on the Q-SYS Core 110f to a USB 2.0 port on the server. There will be no immediate device recognition.
Plug the Core unit into the network, then start the Q-SYS Designer software.
Setup

1.There should be a Core 110f device shown in Q-SYS Designer. This is not linked to the device on the network until the Core Properties Name field matches the Name on the LCD panel of the device. (Here the name is DSP01-01. It can be changed in either place, front panel or software.)
2.Change USB Audio Bridge from Disabled to Advanced. This turns on the USB audio driver request to Windows. Since the plan in this illustration is for 16 channels (max. channel count across the USB bridge) the Audio Bridge Count has been set to 2
3.Change the input of USB Sound Card 1 to 8.
4.Change the input of USB Sound Card 2 to 8.
5.Add the USB Sound Card Devices to the Schematic.
6.Add a Level Meter to the schematic (properties here have been adjusted to be 16 channel).
7.Connect a bunch of cables.
8.Double-click on the Level Meter Device to open up the viewport.
9.File > Save to Core and Run (or F5).
The remainder of configuration is in DeltaServer itself.
10.Download and install ASIO4All on the server
11.Restart DeltaServer.exe to recognize this newly-installed audio driver option.
12.In a DeltaGUI connected to that Server, go to Configuration > Preferences > Audio, and select ASIO4All from the audio driver options list.
13.Force audio channel count to 16.
14.Restart DeltaServer again to re-initialize the audio interface connection.
15.If ASIO4All driver was initialized correctly, then you will now see an icon for ASIO4All in the Windows tray area. Open ASIO4All configuration, click the wrench icon to enable access to further configuration options, and ensure that the ‘power button’ on ONLY the two devices from QSC are enabled (here named DSP01-01 – shown with the ‘Play button’ active in the image below).
16.Once ASIO4All configuration has been setup correctly, restart DeltaServer once again to reinitialize ASIO4All and DeltaServer’s driver connection to it.
17.You should now be able to output audio from DeltaServer timeline, and you should see 16 channels route appropriately, as shown in the QSys meter image below.
