Introduced in 2021, this Adobe MediaCore plugin offers maximum flexibility. It reads .7th files and writes any format out to .7th formats, and is accessible in Media Encoder directly, which then is integratable with After Effects and Premiere Pro. For example, in After Effects, Choose File > Export > Add to Media Encoder Queue and Media Encoder will open. Your After Effects composition will appear in the Media Encoder queue, and Media Encoder can then do the rendering, freeing up After Effects to continue working.
Compatibility
Creative Cloud CC2019+ 64-bit for Windows 10/11 and MacOS Intel.
Creative Cloud CC2024+ 64-bit for MacOS Silicon.
Downloads:
Right-click to download (save link as):
➢AdobeMediaCore7th Plugin (Windows)
➢AdobeMediaCore7th Plugin (MacOS with Intel Chipset)
➢AdobeMediaCore7th Plugin (MacOS with Apple Silicon Chipset)
Formats supported
Format |
Import |
Export |
|---|---|---|
8-bit YCoCg DXT5 |
✔️ |
✔️ |
8-bit YCbCr 4:2:0 |
✔️ |
✔️ |
8-bit YCbCr 4:2:2 |
✔️ |
✔️ |
8-bit RGB 4:4:4 |
✔️ |
✔️ |
8-bit RGBA 4:4:4+A |
✔️ |
✔️ |
8-bit BGRA 4:4:4+A |
✔️ |
❌ |
10-bit YCbCr 4:2:2 |
✔️ |
✔️ |
10-bit RGB 4:4:4 |
✔️ |
✔️ |
12-bit RGB 4:4:4 |
✔️ |
✔️ |
12/10-bit YCbCr 4:2:2+A |
✔️ |
✔️ |
.sth variants are also supported for IMPORT, but not export.
1.Download and unzip the 2 files: 2.Place these in C:\Program Files\Adobe\Common\Plug-ins\7.0\MediaCore.
|
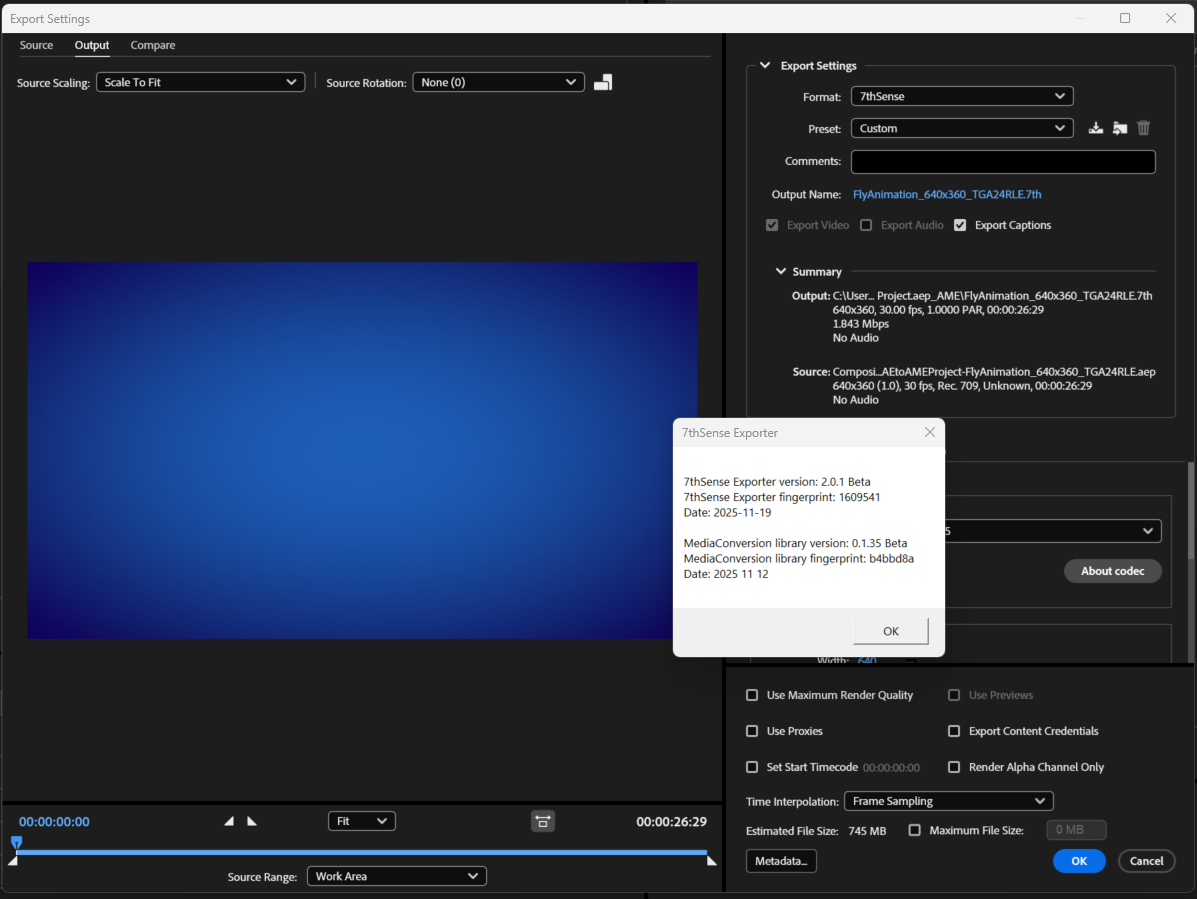
To verify the installed plugin version: 1.Open Adobe Media Encoder 2.Add any piece of content to the queue, then open the queue item's Export Settings (by clicking the blue text in the Format column of that queue item) 3.Choose 7thSense from the format list. |
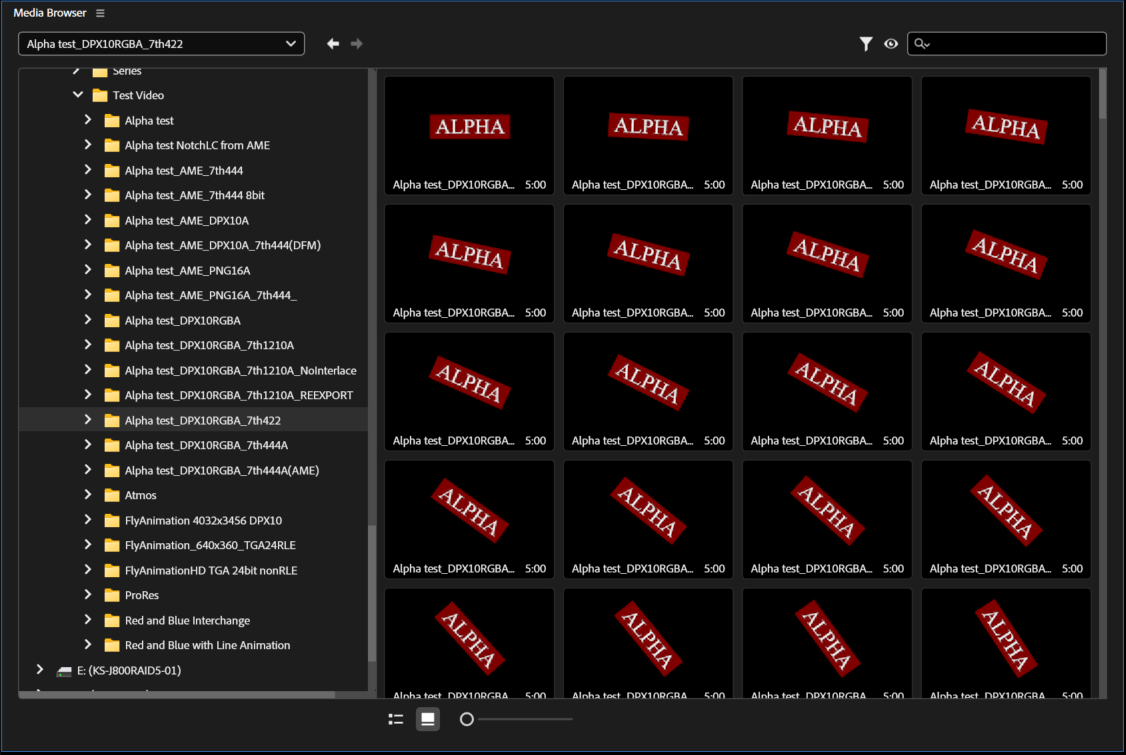
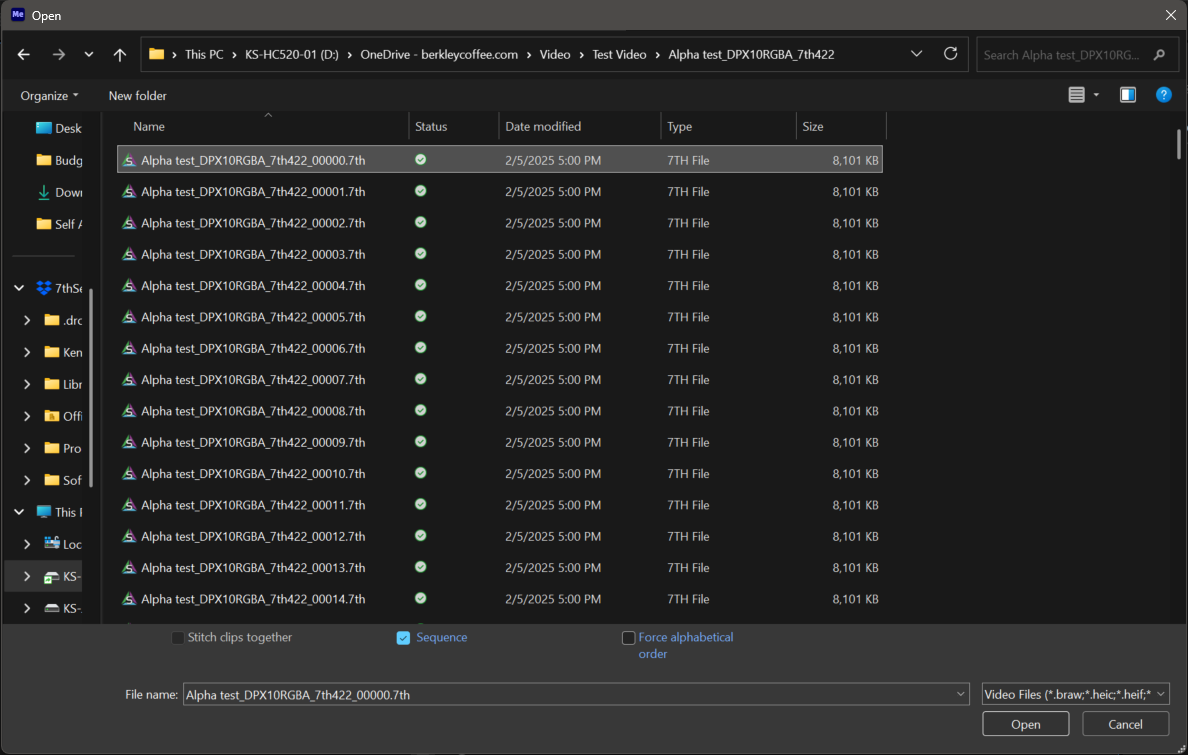
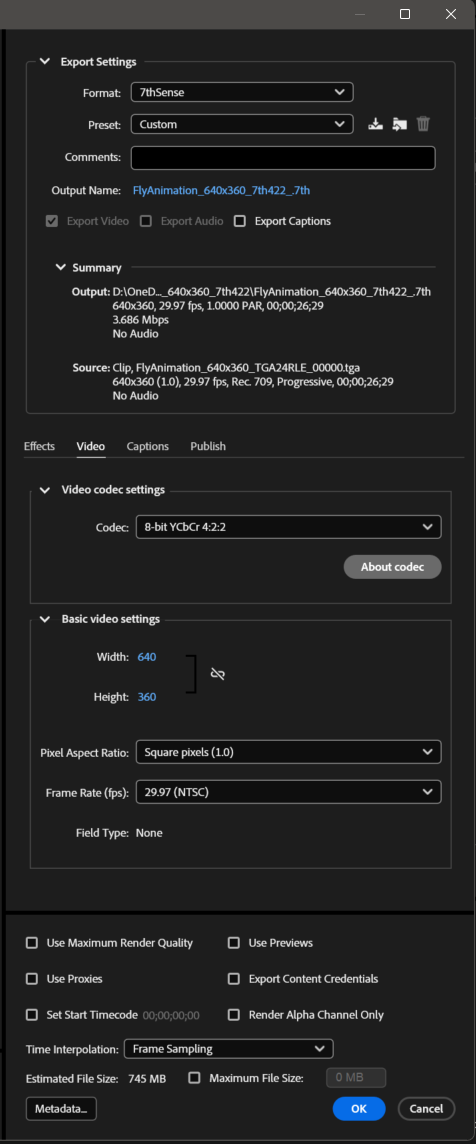
Importing 1.Open Media Encoder 2.Browse in the Media Browser to a folder that contains a .7th or .sth image sequence. 3.INSTEAD, click File --> Add Source. 4.Browse to a folder that contains a .7th or .sth image sequence. 5.Single click just the FIRST indexed image file, ensure that the Sequence checkbox is checked, and Open. 6.Open that Queue item's Export Settings (by clicking the blue text in its Format column). 7.Click the Source tab (upper-left corner), and drag the playhead around a bit. You should see the images rendered. Exporting 1.Follow similar steps as written above to add ANY source movie/image sequence supported by Media Encoder to an After Effects Composition (and .7th sequences are now among those possibilities with our Import plugin installed.) 2.Open that Queue item's Export Settings (by clicking the blue text in its Format column). 3.Choose Format --> 7thSense. 4.Click the blue text beside Output Name to edit the export path and file naming. Remember that you are produced a sequence of images, so you should first create a new folder that will hold ONLY the new images, then enter that folder, and there set the base name of the image files will use. Upon export, AME will automatically add zero-padded frame index to whatever base name you choose. It is generally best practice to match the folder name and base name, but with an "_" added at the end of the base name (after which AME will add the frame index upon export.) 5.Under Video codec settings, choose a .7th subformat. 6.At this point you can just hit OK, unless you wish to intentionally change further parameters like scaling or frame rate. Note if you are converting FROM an image sequence TO an image sequence, it's value doesn't have to match the reality of the fps this clip is actually produced to play at. Just leave that setting as is and frames will enter and exit 1:1 with no rate conversation 7.Click Play button on the Queue
|
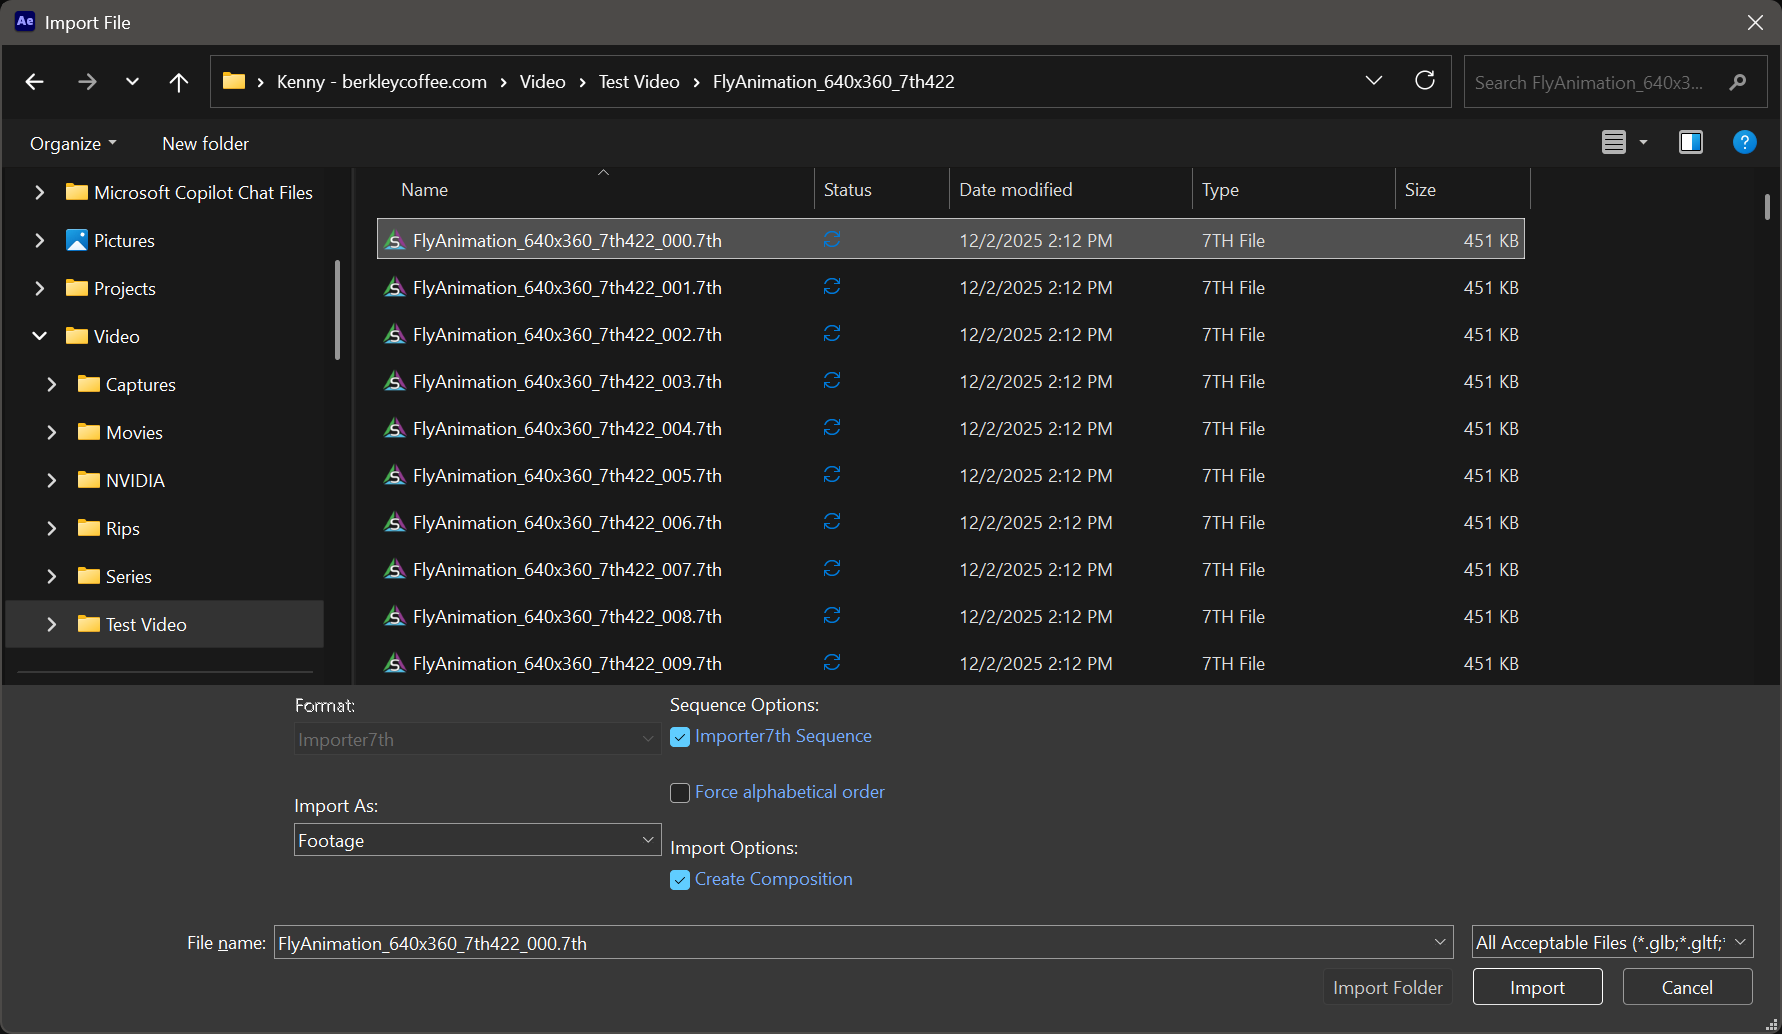
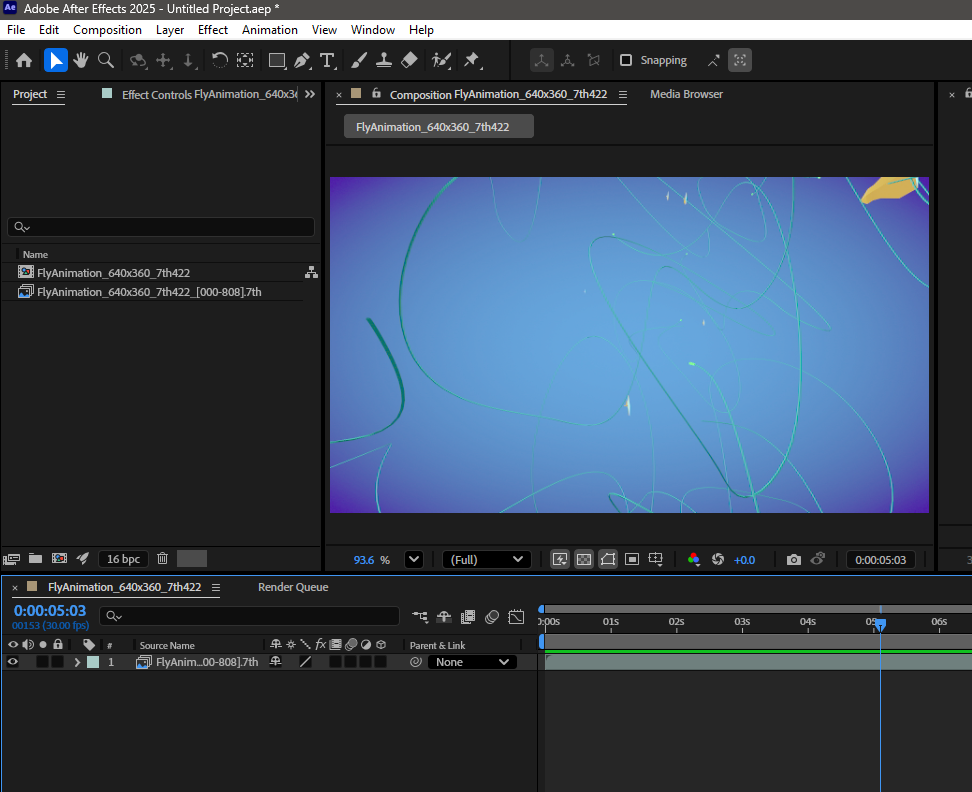
Importing 1.Run After Effects and Start a new Project, 2.Click File --> Import --> Files. Browse to a folder that contains a .7th or .sth image sequence. 3.Single click just the FIRST indexed image file, ensure that the checkbox Import7th Sequence is checked, as well as Create Composition, and then Import. 4.You should now see the .7th footage and a composition created based on that footage in the Project bin. Open that Composition and you should see the frames rendered in the Composition pallet.
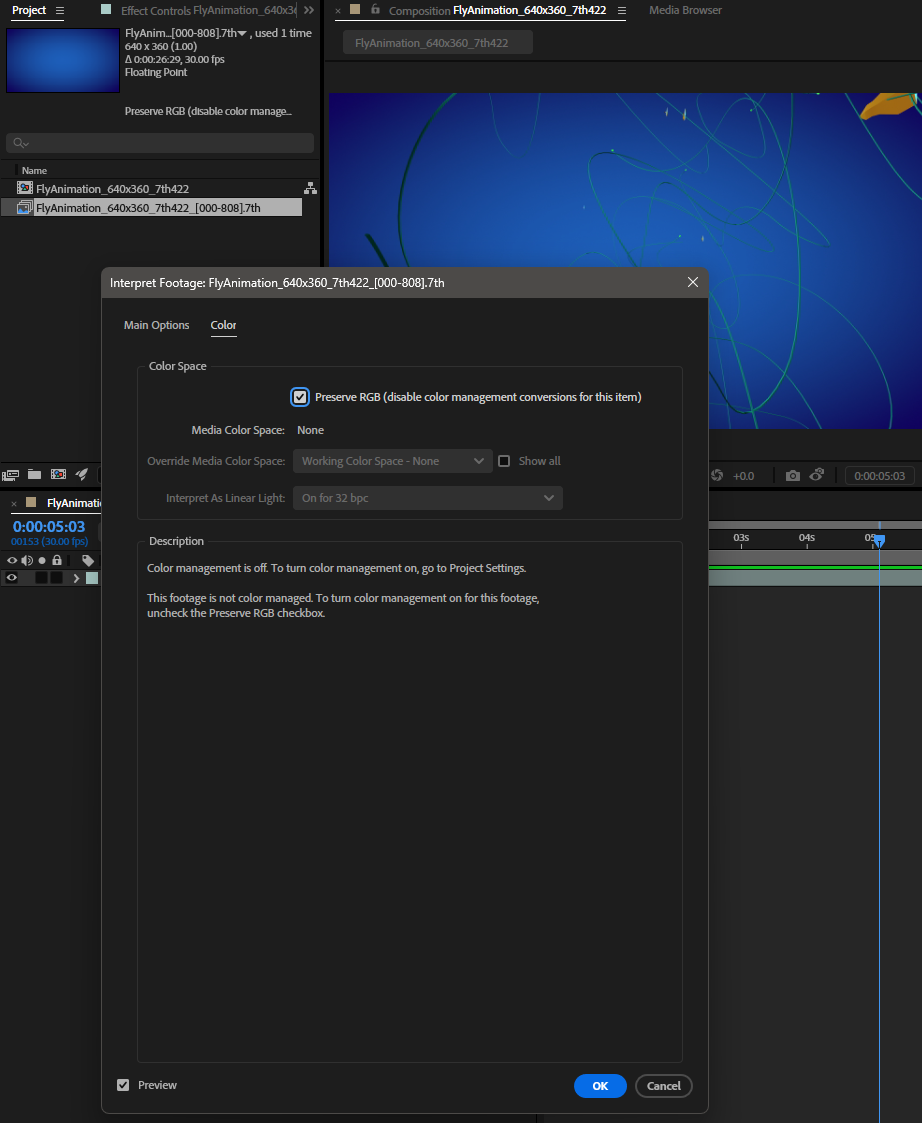
IMPORTANT CONSIDERATIONS: •If you are working with sequence with color bit depth beyond 8-bit, it's important to increase the project's working color depth in File --> Project Settings --> Color to "16 bits per channel" (the default being "8 bits per channel"). •AE will automatically applies some "Interpret Footage"settings to every given imported clip (and the Composition created based on those initial clip settings). For image sequences, it's important to review that both the Frame Rate and Color Space settings are appropriate. .7th files do not contain color space metadata, only the color bit values. So it's important to communicate with the media producer what color space the data was written to be interpreted as (e.g. Rec709). Also beware that After Effects is a color-managed workspace (configurable in File --> Project Settings -->Color). This means that all footage is conformed from its interpreted color space to the working color space for preview, composition, and ultimately export. • Exporting 1.Follow similar steps as written above to add ANY source movie/image sequence supported by After Effects to a Composition (.7th sequence are now included among those possibilities with our Import plugin verified above.) 2.Be sure to review Project Settings, and Interpret Footage settings for that clip (as discussed deeper in the Importing guidance.) 3.Select the composition in Project pallet, then in the top menu bar choose Composition --> Add to Adobe Media Encoder Queue. From here, just follow the instructions given earlier in this guide for Exporting in Adobe Media Encoder.
|
Adobe Media Encoder log files:
|
