StackSignage will normally be pre-installed and tested on complete signage systems delivered by 7thSense.
•The MySQL database, the Scheduler app, the MicroConductor app, and the Snapshot app are installed on the Scheduler server PC. MySQL must be installed first.
•The DeltaServer software and MediaSync app are installed on each 7thSense media server.
The program location on all servers is C:\7thSense\web\data\app.
It is assumed from here on that all required components of the StackSignage system are physically installed and connected. Switch all units on and run all the software. •StackSignage apps are started as services in the browser front end as illustrated below. •Players may be set to run DeltaServer initially with a fullscreen playback window. If the screen is all black instead of the Desktop, exit fullscreen mode by pressing the F key. |
Starting the servers and synchronising with LTC
The Scheduler PC communicates with the servers over the network, so use the web service now to run first the Scheduler service then the MicroConductor service on each, and check that the synchronising timecode (LTC) chase is turned on if required. (LTC chase and framerate are set during the installation of MicroConductor.)
On the Scheduler PC, type the IP address of the scheduler into a browser tab (or ‘localhost’ if this is a remote PC). This will offer the login page, so use the default username and password of admin/admin.
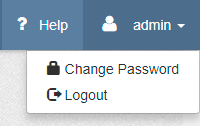
•You can set up your own username and password under Admin:
Click the top-right ‘Configure’ button, then ‘Add-ons’ at the bottom of the left menu bar:
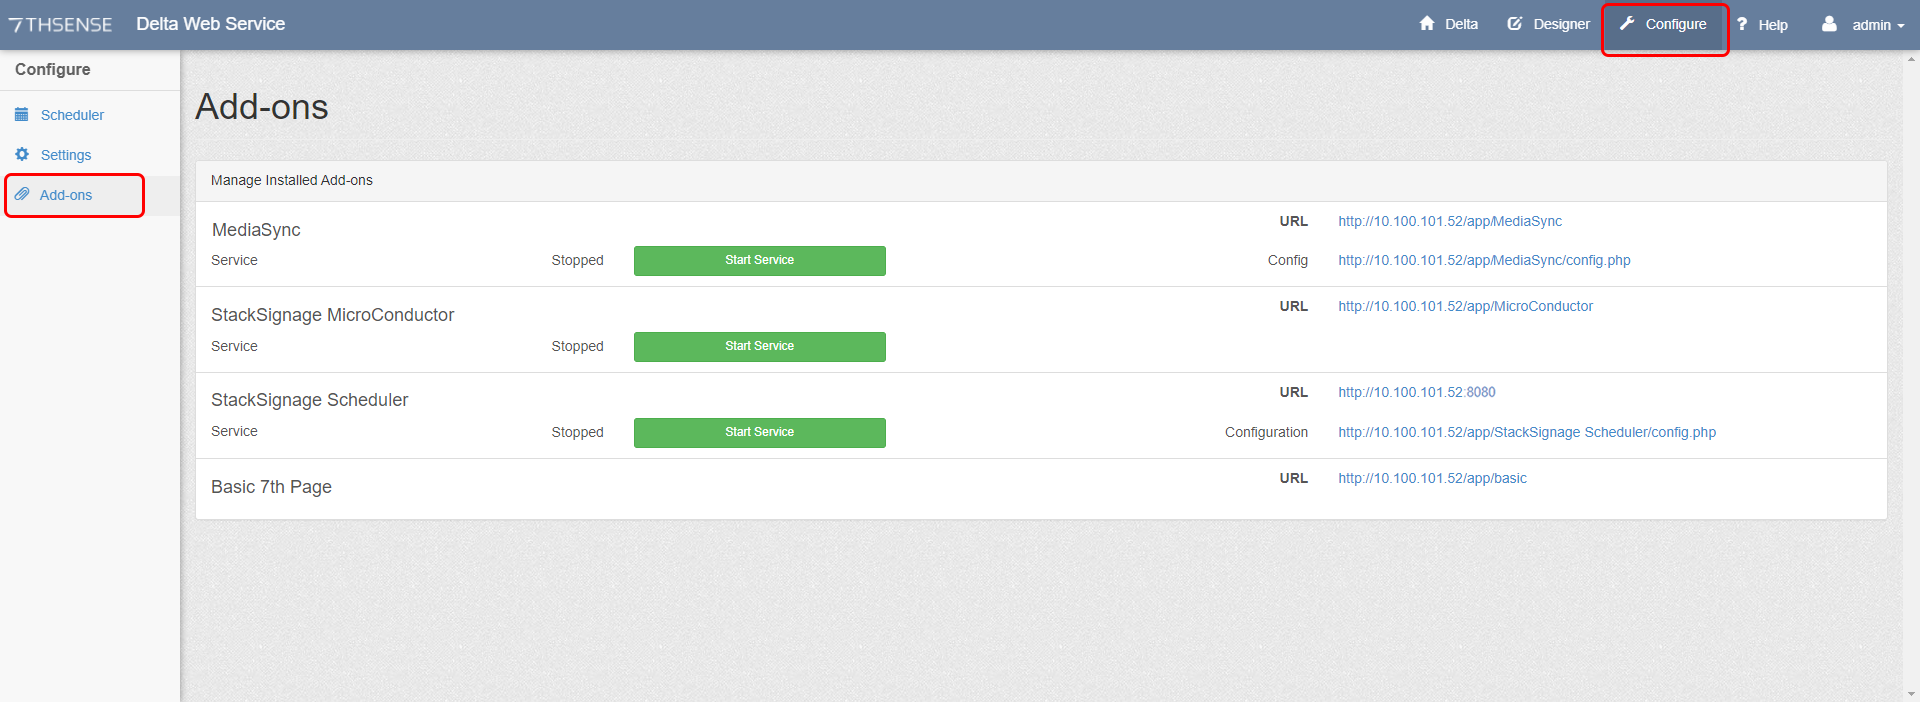
This will list Delta Web Service add-ons that have been installed. They will show green if stopped and red if started.
Click the Start buttons in order:
1.Start StackSignage – Scheduler
2.Start MicroConductor
3.Start MediaSync
Scheduler Configuration
Click on the Configuration link on the right:
http://[IP Address]/app/StackSignage%20Scheduler/config.php
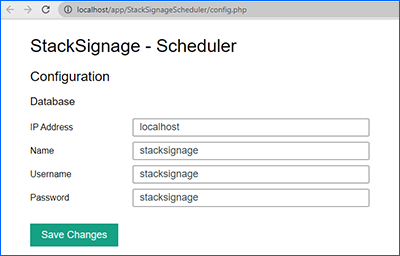
This is where you can return if you need to update the Scheduler login details.
You are now ready to add all the components of a signage system:
•System (servers, screens and screen groups)
•Media (assets, layout and transition)
•Organisation (clients, contracts and categories)
These can be found under ‘Management’.