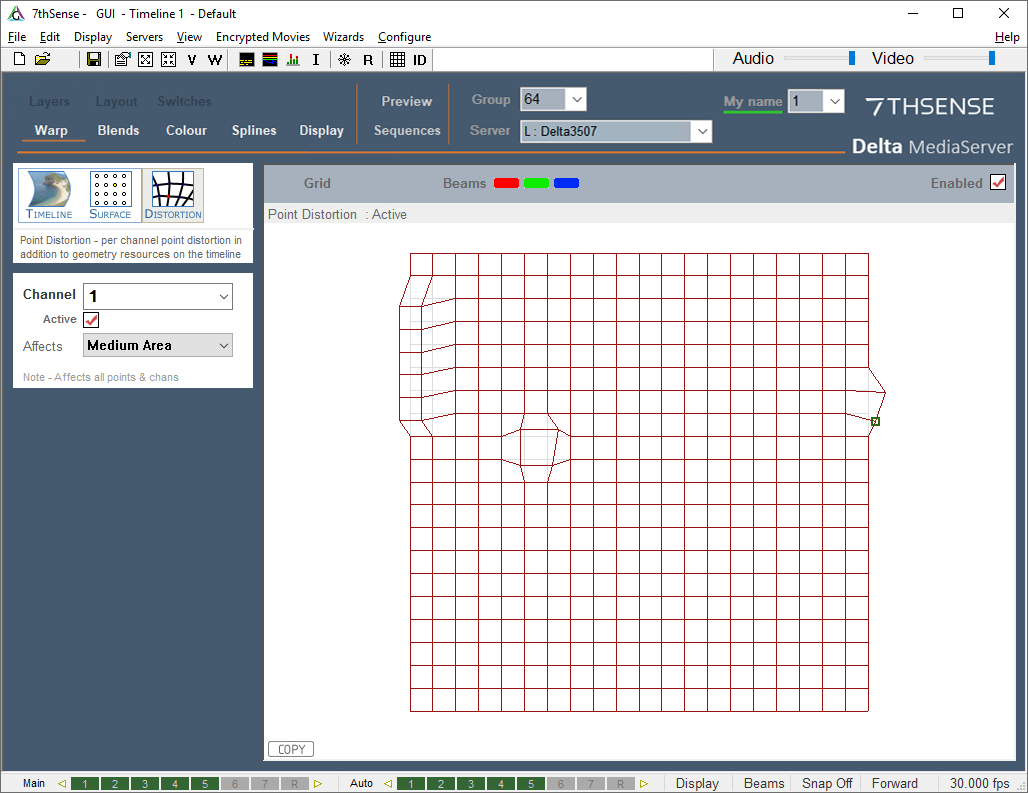
 Point distortion is an additional channel-based geometric distortion which is typically used in curved screen displays to finely tune geometry.
•Add a flat geometry resource to the timeline, and set its properties to background layer and to the required distortion channel.
•Each channel has an independent distortion map and these are stored in the XML file.
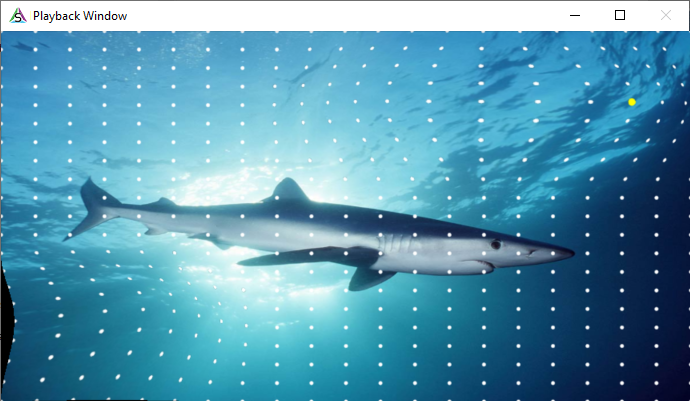
On the Warp page, select Distortion from the Timeline / Distortion tab control. DeltaGUI now shows a 21 × 21 or 11 × 11 grid of points (configurable in the Grid menu), and the display shows a grid of dots. Both dot size and grid density can be adjusted.

Single or selected points are moved in DeltaGUI, whilst viewing the display; moving a single point smoothly affects those around it to a certain degree so that sharp changes in direction are minimised. Use the Affects selection for how far spread the distortion needs to be, before starting the adjustment. Medium is recommended for the range of influence for 11 × 11 grid density, small for 21 × 21.
Point Selection
•Single node: move from node to node with the arrow keys; the selected node is yellow. You can clicking to select, but this is likely to nudge the point.
•Multiple nodes: rubberband over a number of points and move them as a group. To add groups, press Shift, then rubberband over further points.
In this example below, you can see the distorted part of the image around the yellow (selected) point:

•For large movements, use the mouse to select the point or points, and drag to the new location.
•For small and precise adjustments, use the arrow keys to select the point, then press Ctrl and use the arrow keys to move the distortion of that point.
Once finished aligning the geometry, return to the Timeline image source.

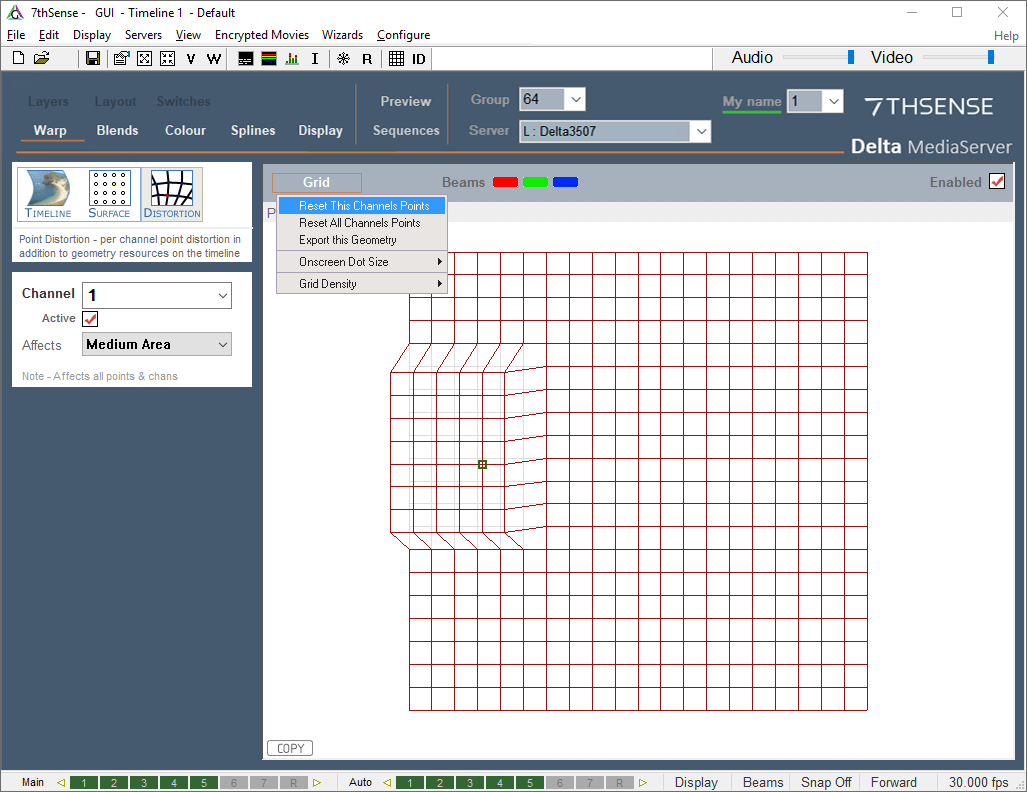
Grid Menu: Reset Distortion
To reset a group of points, rubber band over them to select them, click the Grid button then choose Reset Selected Points from the menu.

Reset This Channel’s Points or All Channels’ Points
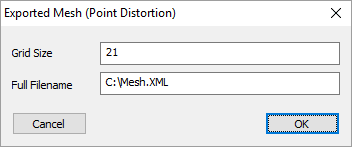
Grid Menu: Export this Geometry
Export this Geometry to use in other applications which use the warp:

Grid Menu: Grid Density
You can swap from the default 21 × 21 grid to an 11 × 11 grid using the Reset menu > Grid Density item.
Note that this will reset all point distortion on all channels on this server. |
Grid Menu: Dot Size
You can choose larger than the standard dot size if the dots are hard to see.
Copy Distortion
To copy the current channel’s distortion to another channel, press the COPY button in the lower left corner and type in the destination channel.
Page edited [d/m/y]: 08/12/2020