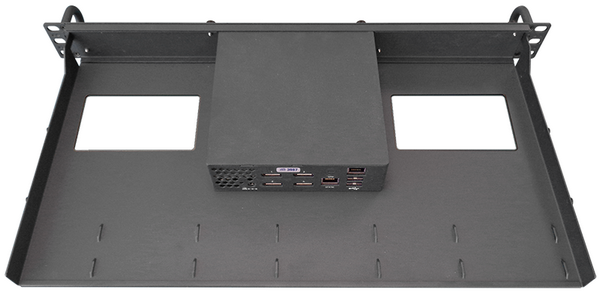
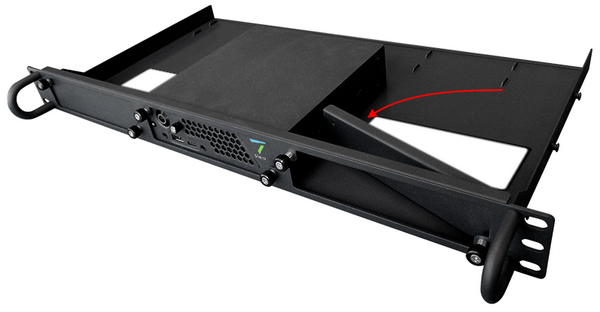
Up to three Pico servers can be mounted as a 1U rack unit, using the optional rack mount tray. Where fewer than three servers are mounted this way, use the supplied blanking plates.
Remove the two black dome-head screws from the Pico front panel:
Present each server into the tray and secure using two black finger screws. These are spring-mounted, so push them in to locate the threads.
When adding blanking plates, present these to the outer side first to avoid scraping down a server side. The screw holes in the plates are asymmetric, so check that the holes align with the finger screws.
Use the cable tie eyelets on the rear base of the tray to secure loose cables as needed.
The tray itself is supported in the server rack by the two side plates. These are slotted to receive the pins on the sides of the tray.
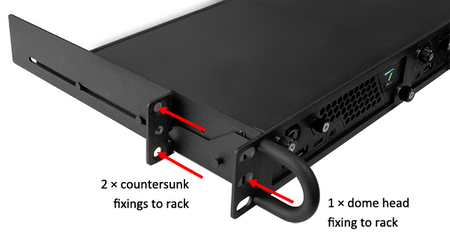
Secure the side plates as shown here, using 2 × M6 countersunk screws for each:
Leave these slightly loose and present the tray to the rack, engaging the pins in the side plate slots and easing back into place.
Tighten the screws through the holes and then secure the tray using 1 × M6 standard rack mounting screws on each side.


